
Broken Screen

When browsing Bluesky, I stumbled upon Jordan Cain's (@oddenough.art) reference pictures of a broken phone screen (Go follow him!)
And I love screens! Broken screens even more. So after seeing those beautiful references, I decided to have a shot at it in Blender and try to recreate that look in a shader.
So here's a short article of the simplified process that I went through to get the following result :

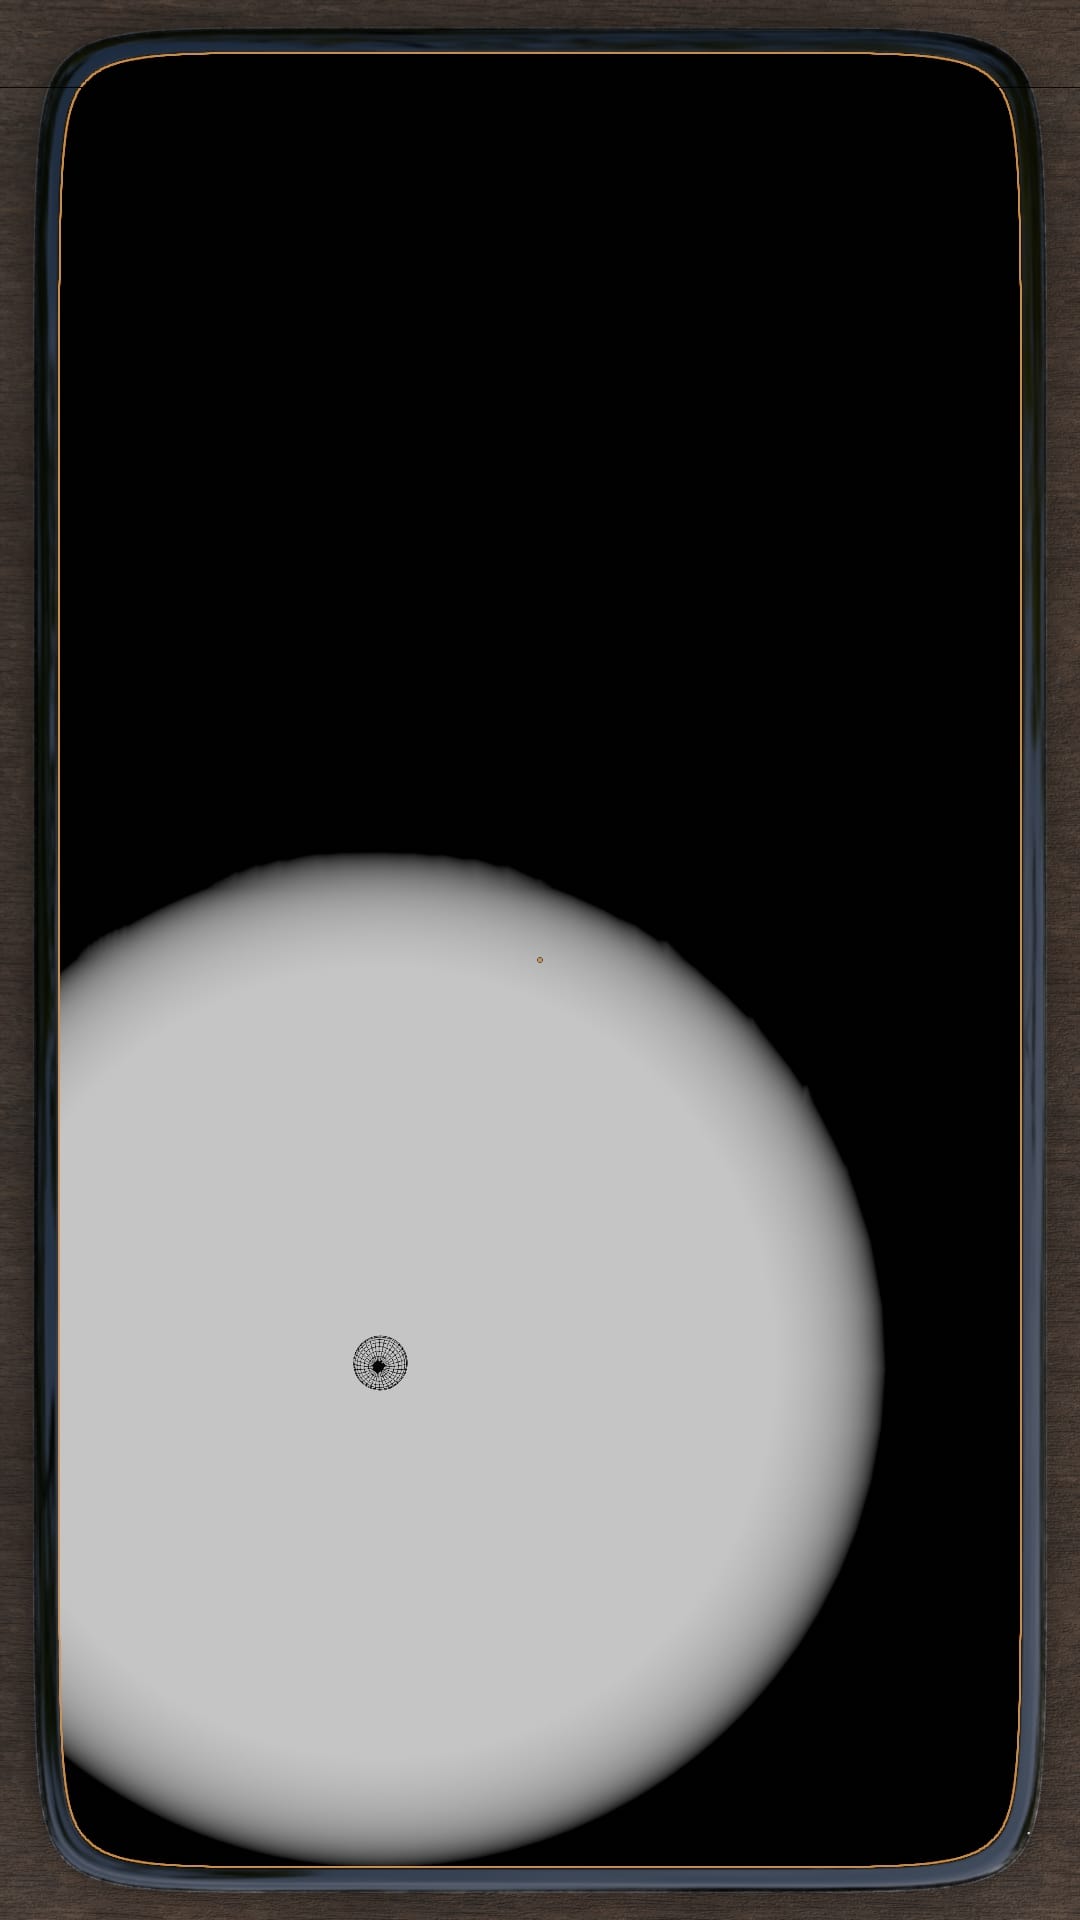
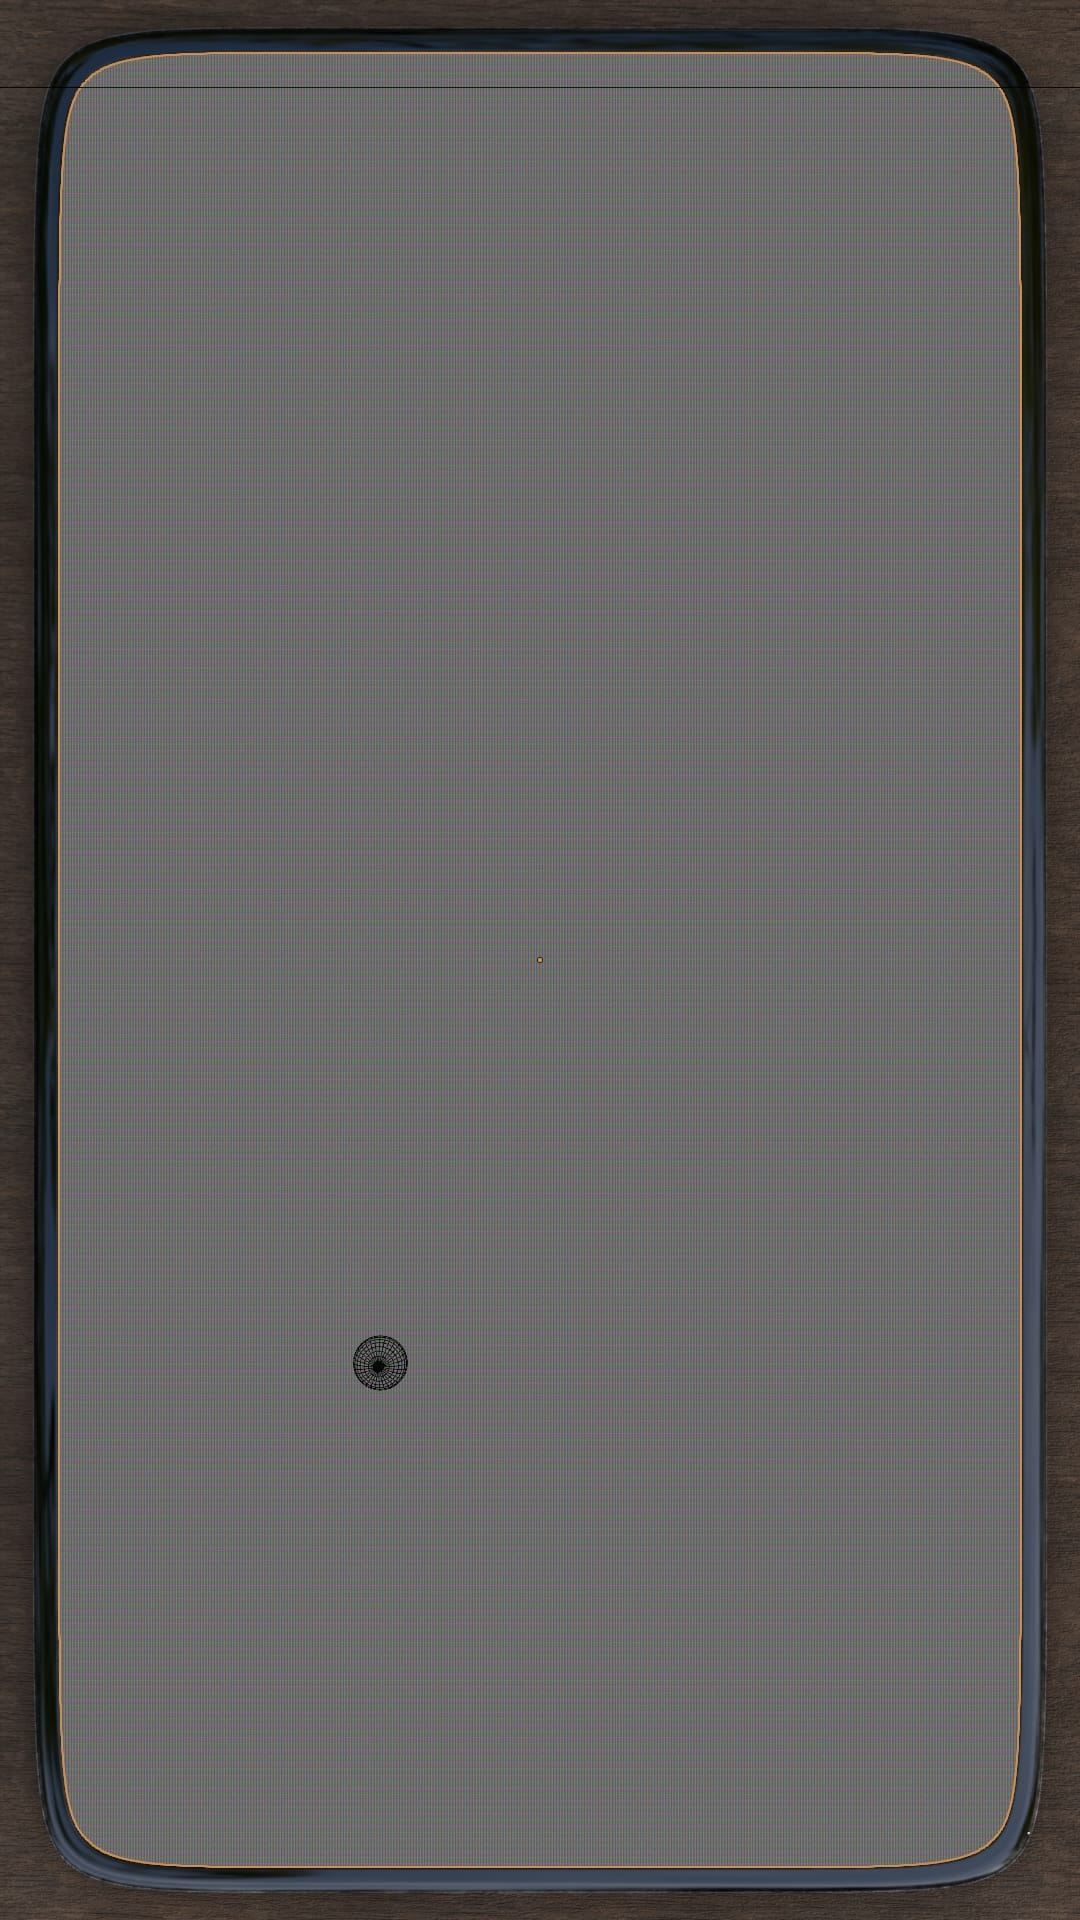
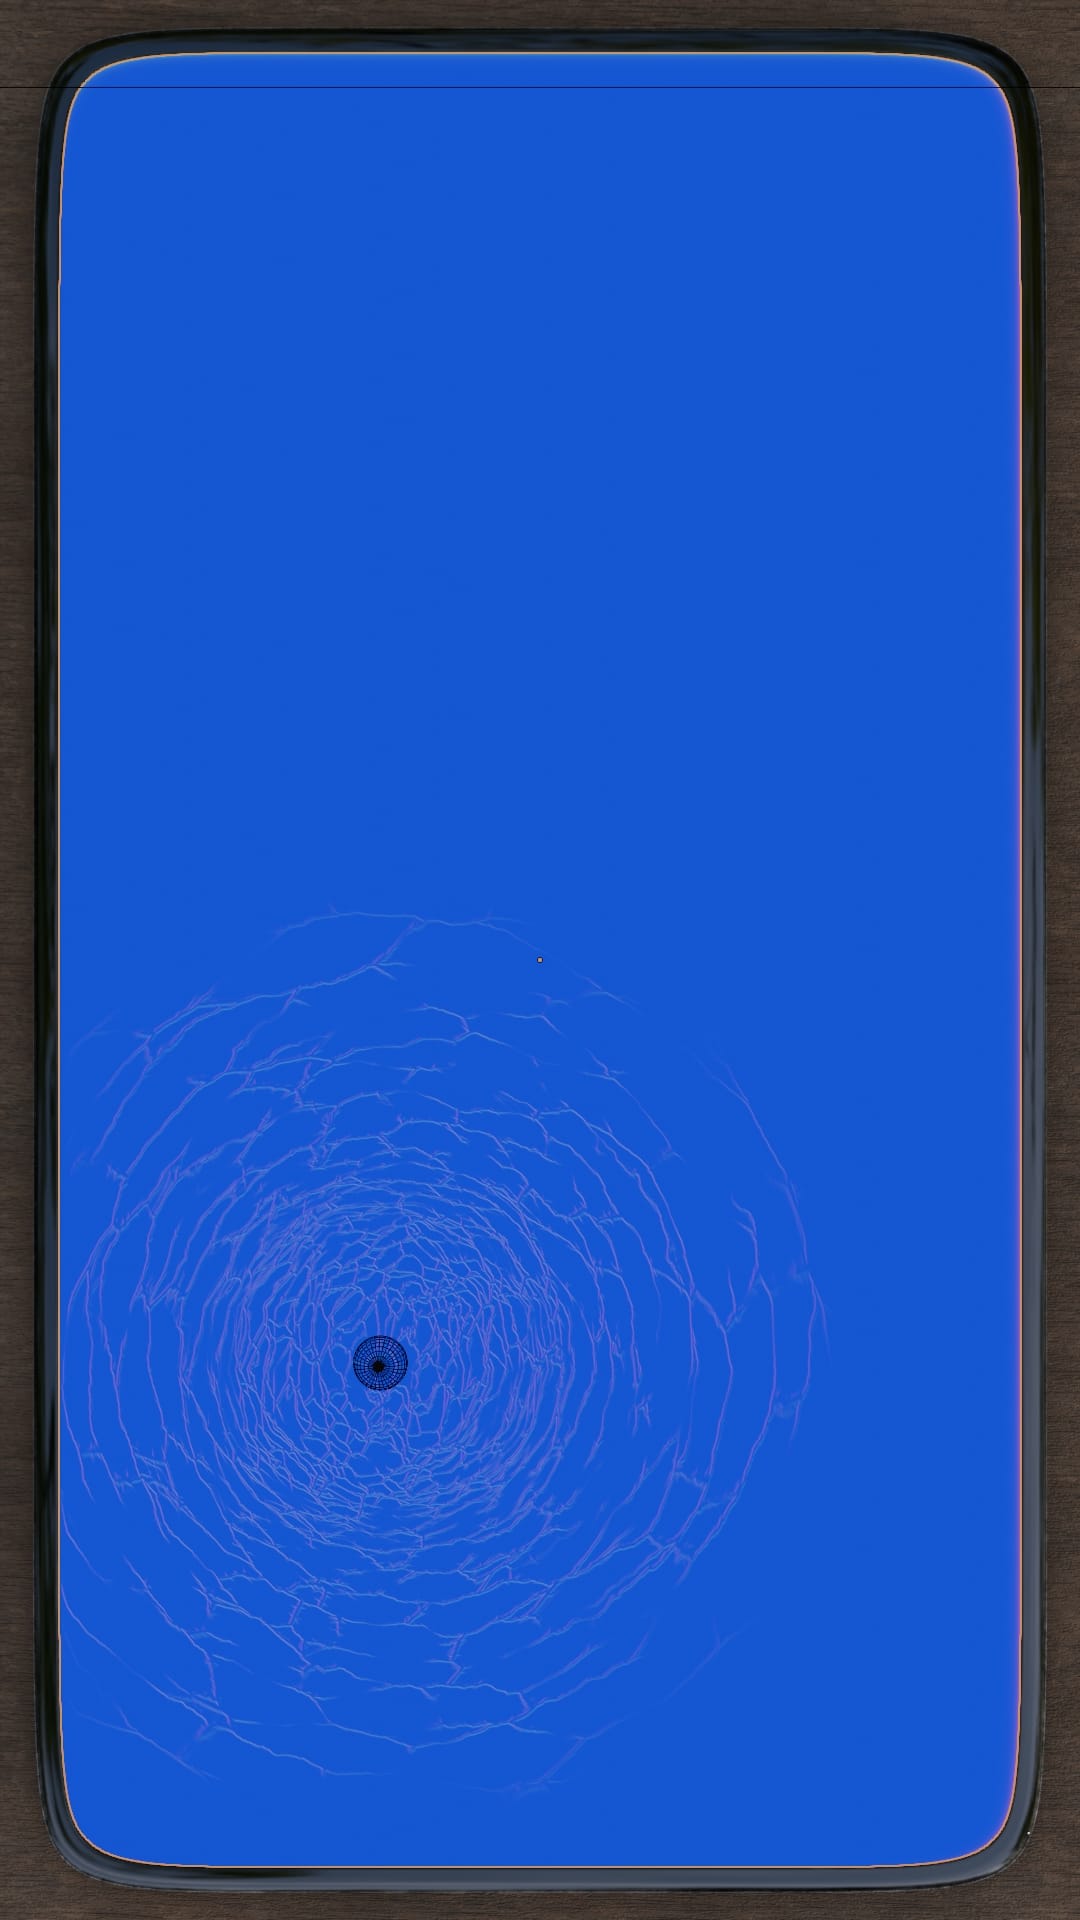
First step was to create a proximity detector with Geometry Nodes, for the impact point. Here I used a sphere, a Geometry Proximity node driven into an Attribute.
This gradient is then used to drive a Voronoi various attributes in the Shader Editor. I also used a node to distort the Voronoi a little bit and get that crack effect.
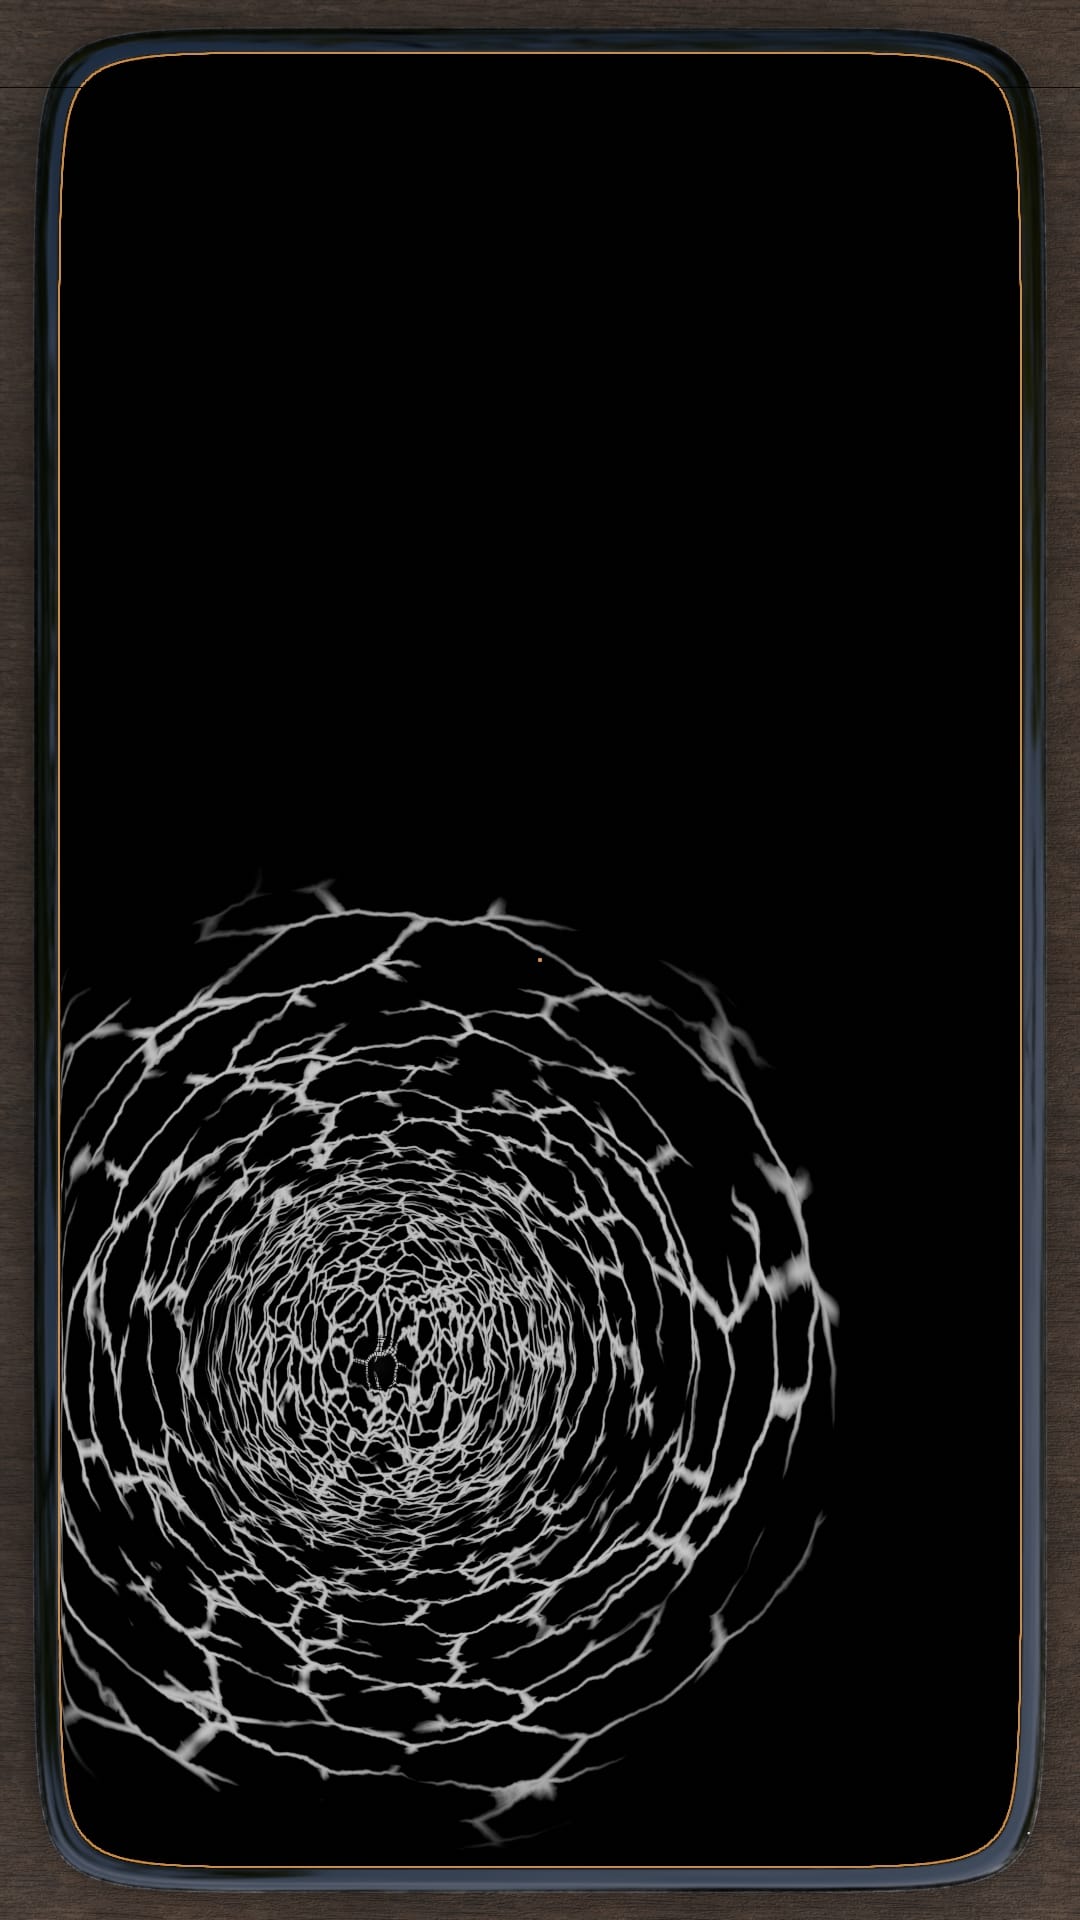
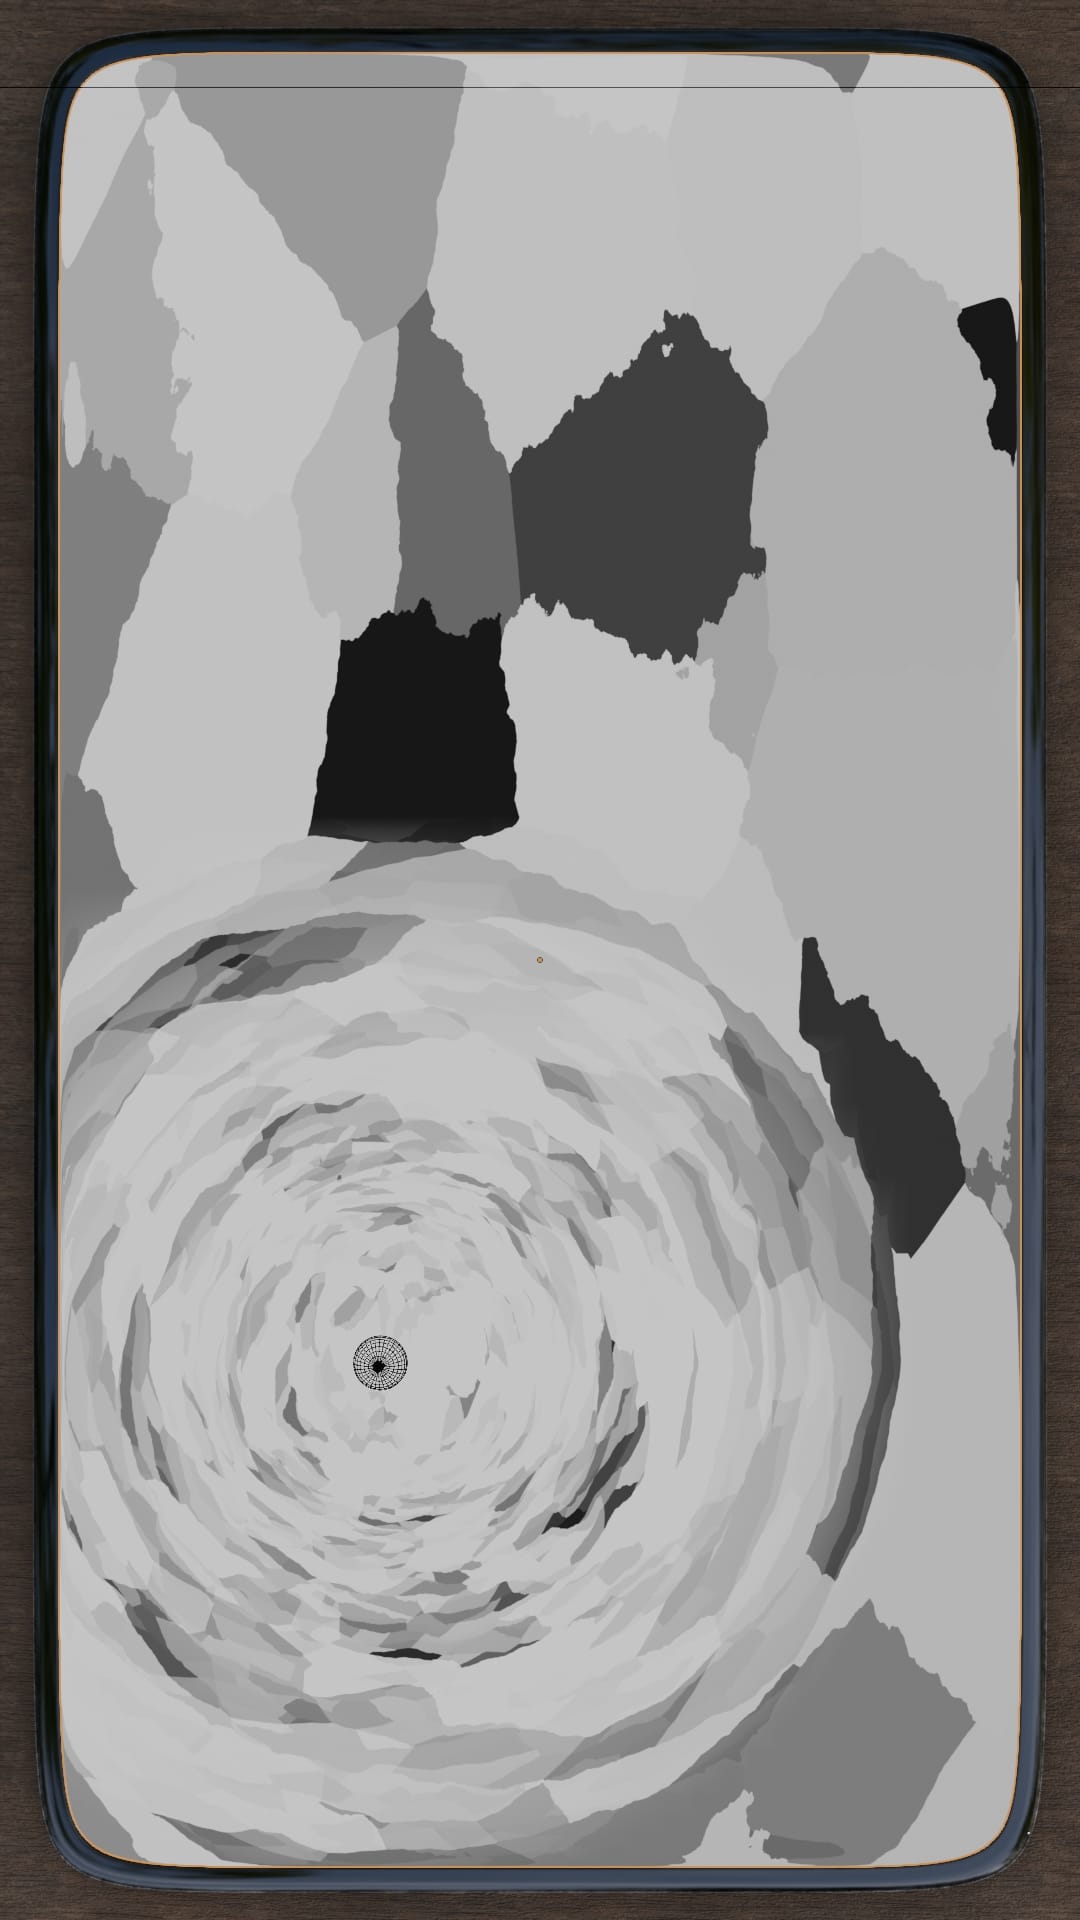
One cool thing with Voronoi is that each cell has a unique color. You can use that color to make useful masks.
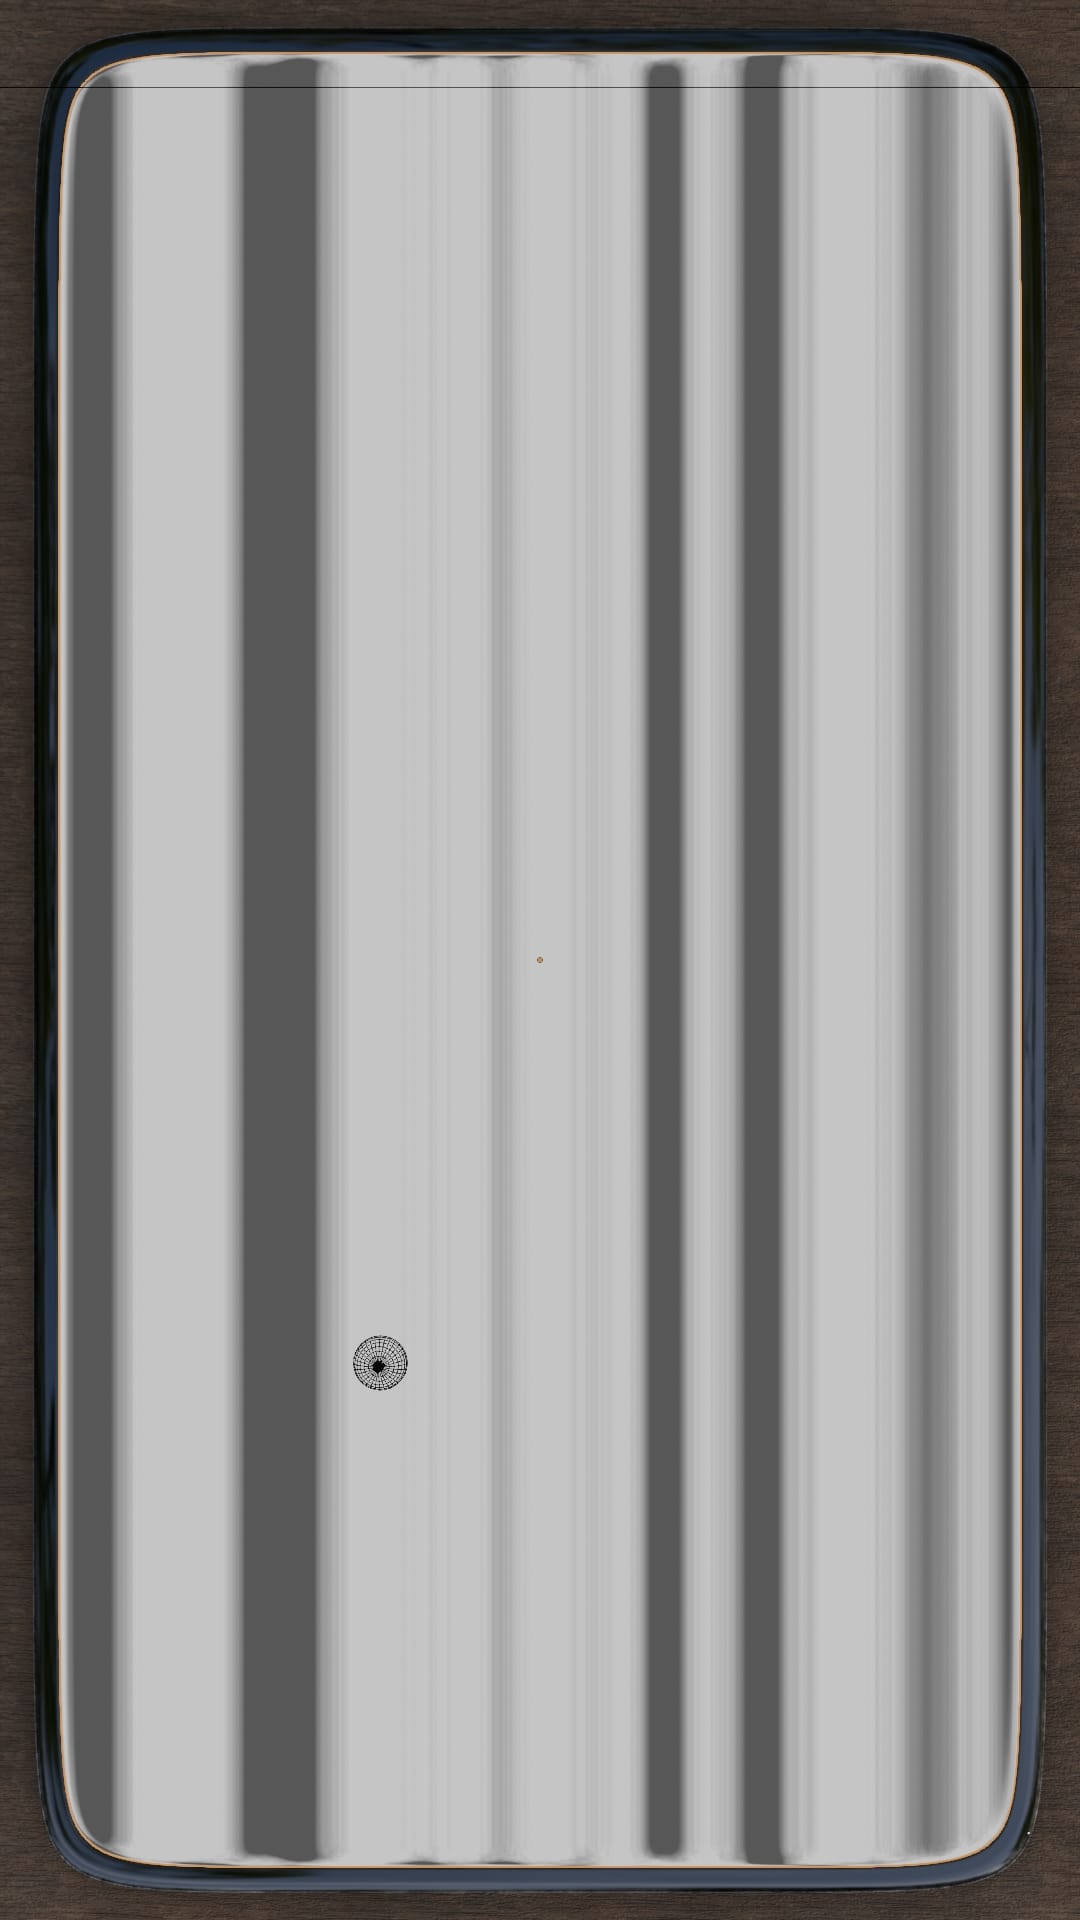
Next step is to prepare the different "features" of the broken screen. The most important one, is the RGB matrix of the screen itself.
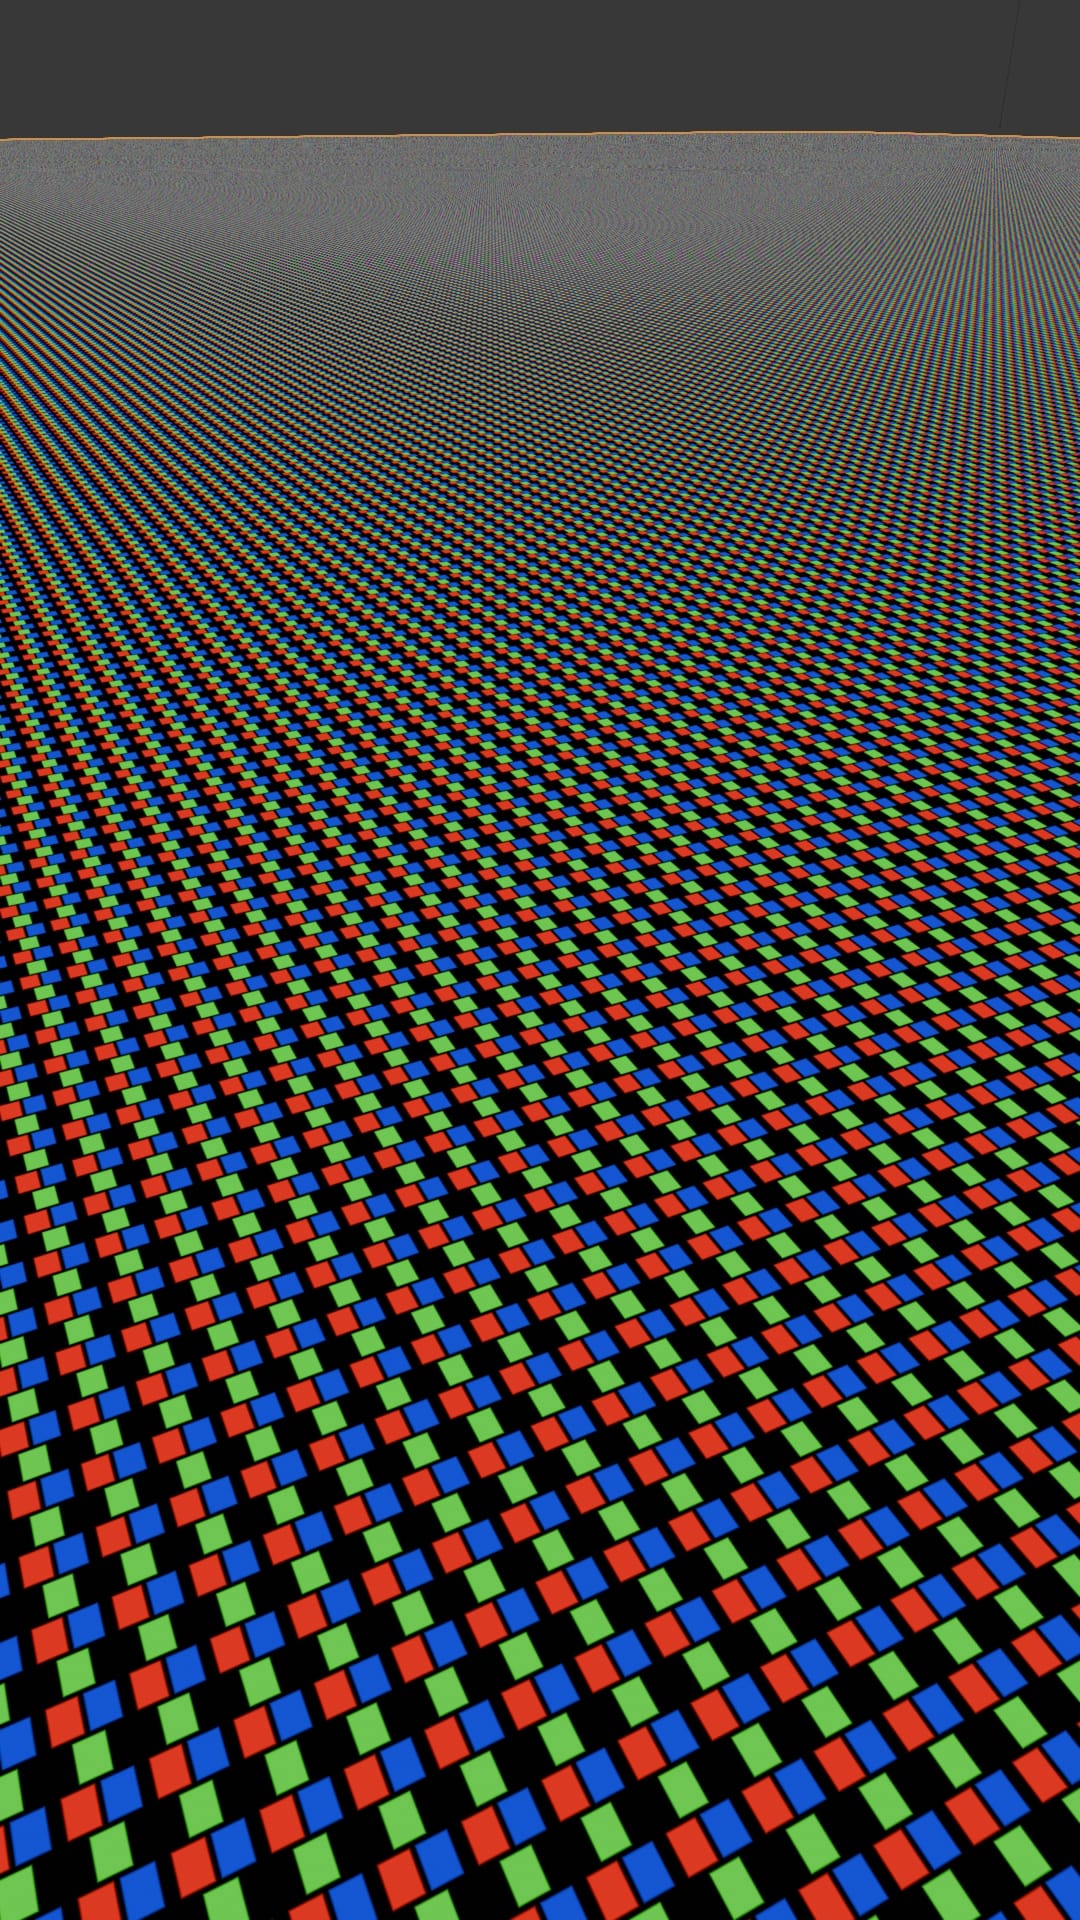
Can't see much from the top, much better when looking closer!
It was made using brick textures, with an offset for the Red Green and Blue pixels.
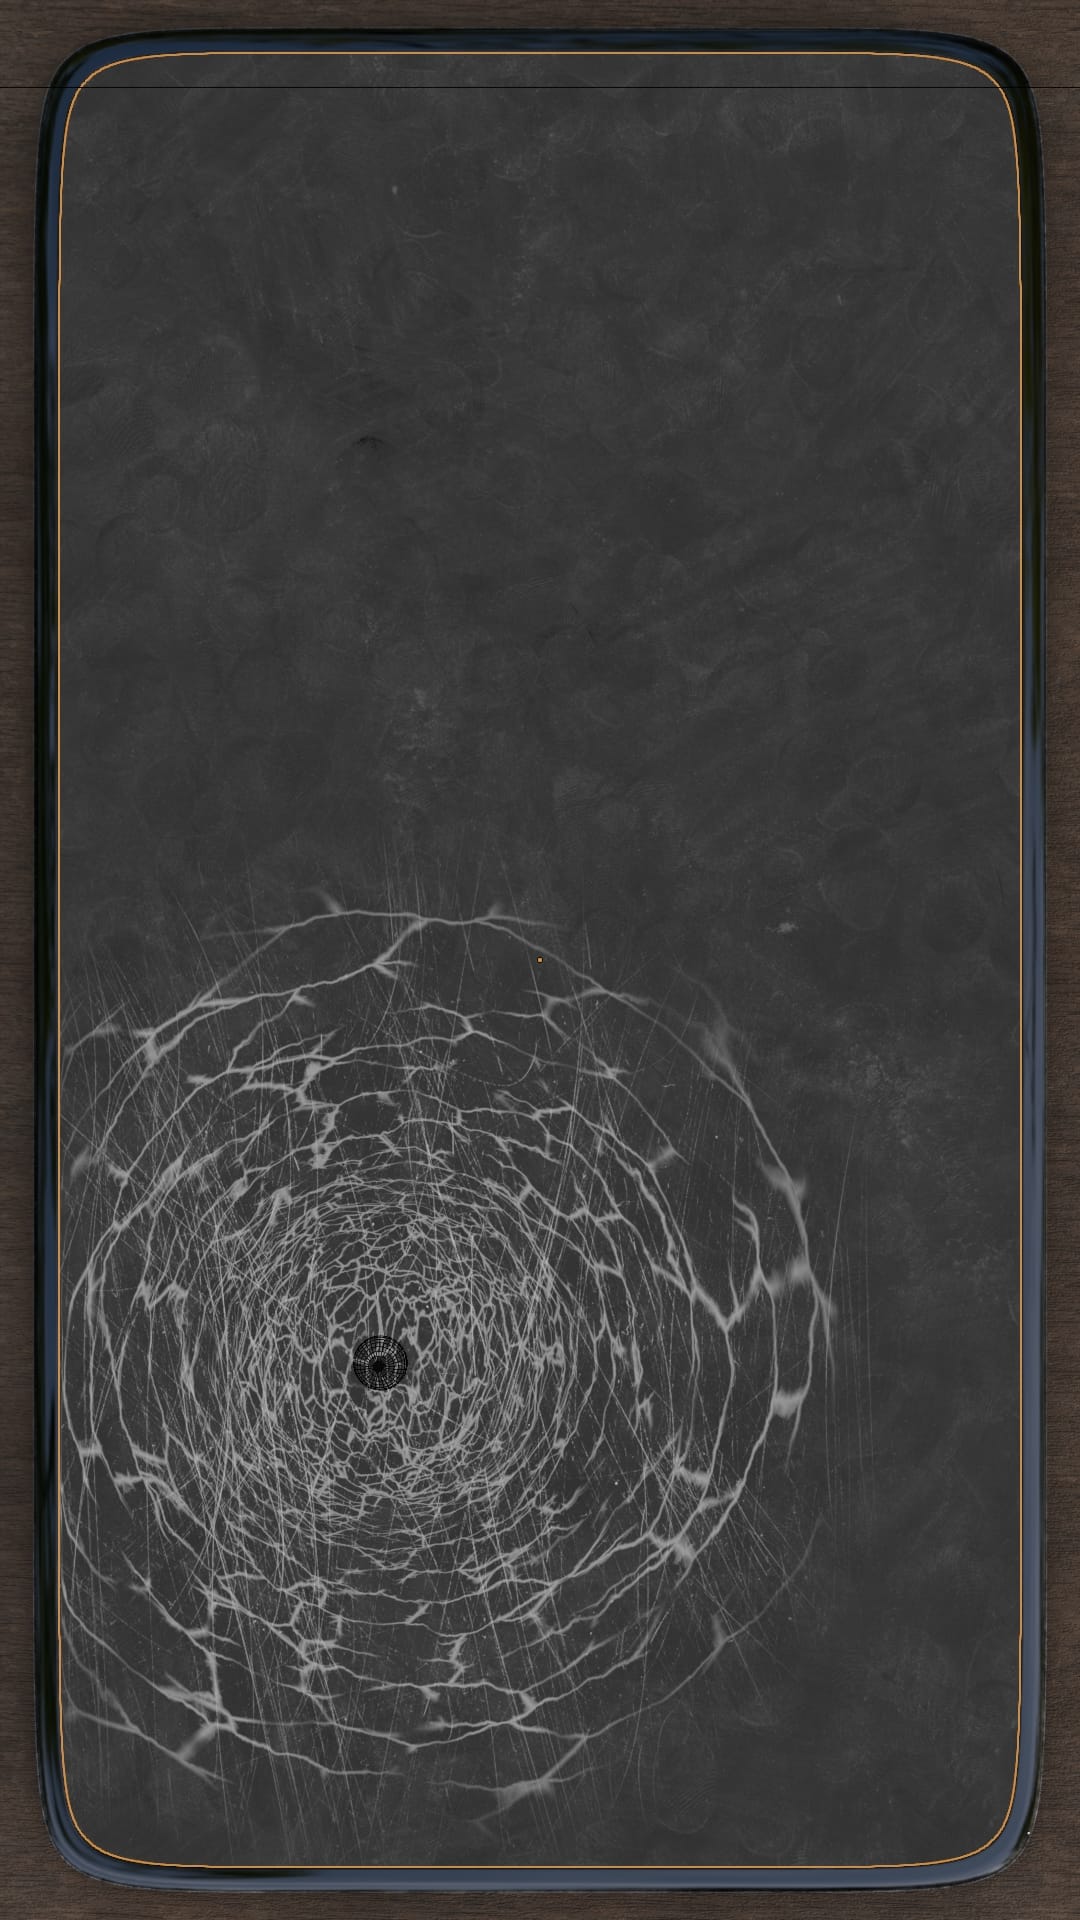
Here are the resulting elements, first, those bright lines that you can see in the reference, made with stretched noise textures, then mixed using the Voronoi Cells mask we've seen earlier.
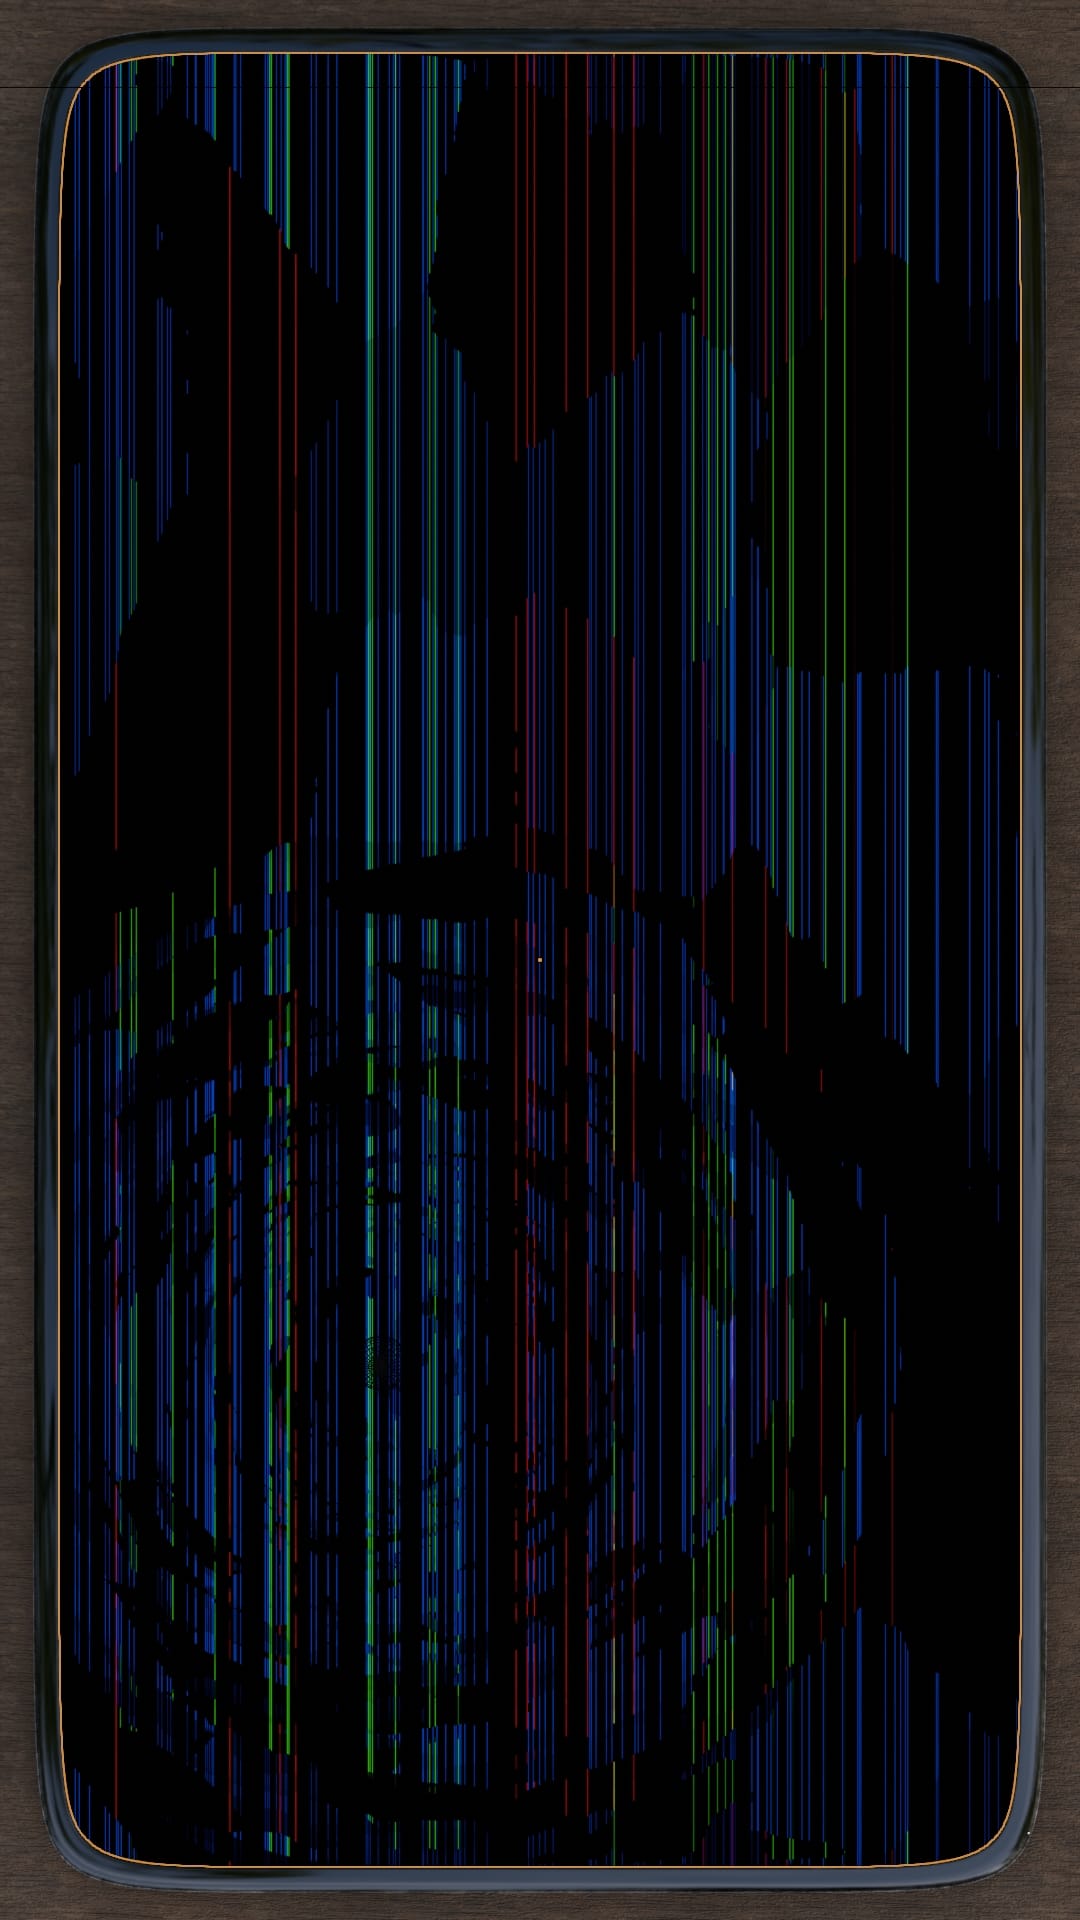
Next step is the phone UI shining through that broken screen. I imported a phone UI, made a vertical blur by using a whitenoise displacing the input Vectors, and mixing that blurred version with the original one.

Next step is to make some addition masks, like vertical and horizontal lines, that you can later use to darken the screen in some places.
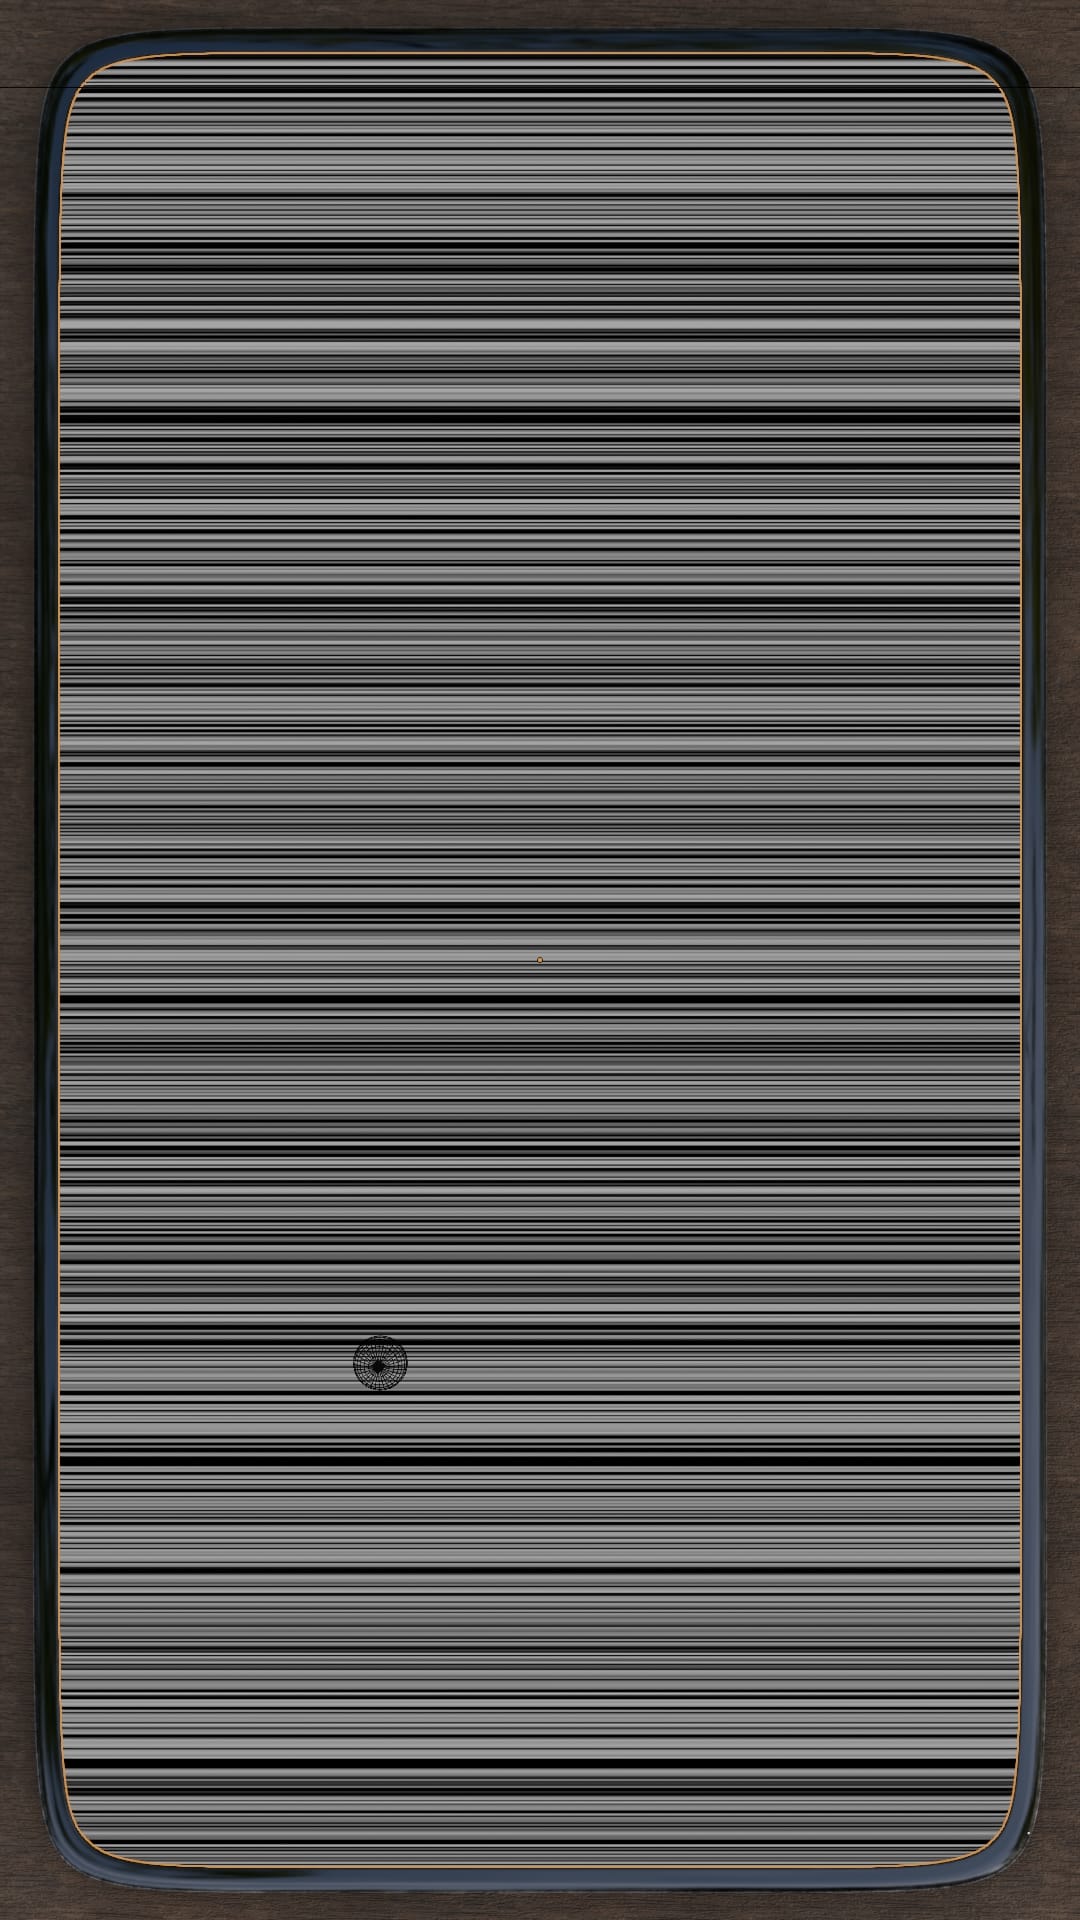
With all that done, I started multiplying and adding all those masks together, in separate RGB channels, using the Voronoi Cells mask to make some interesting combinations.
I then multiplied each channel with the corresponding pixel matrix (RxR, GxG, BxB). Then added them back together with a Combine RGB.
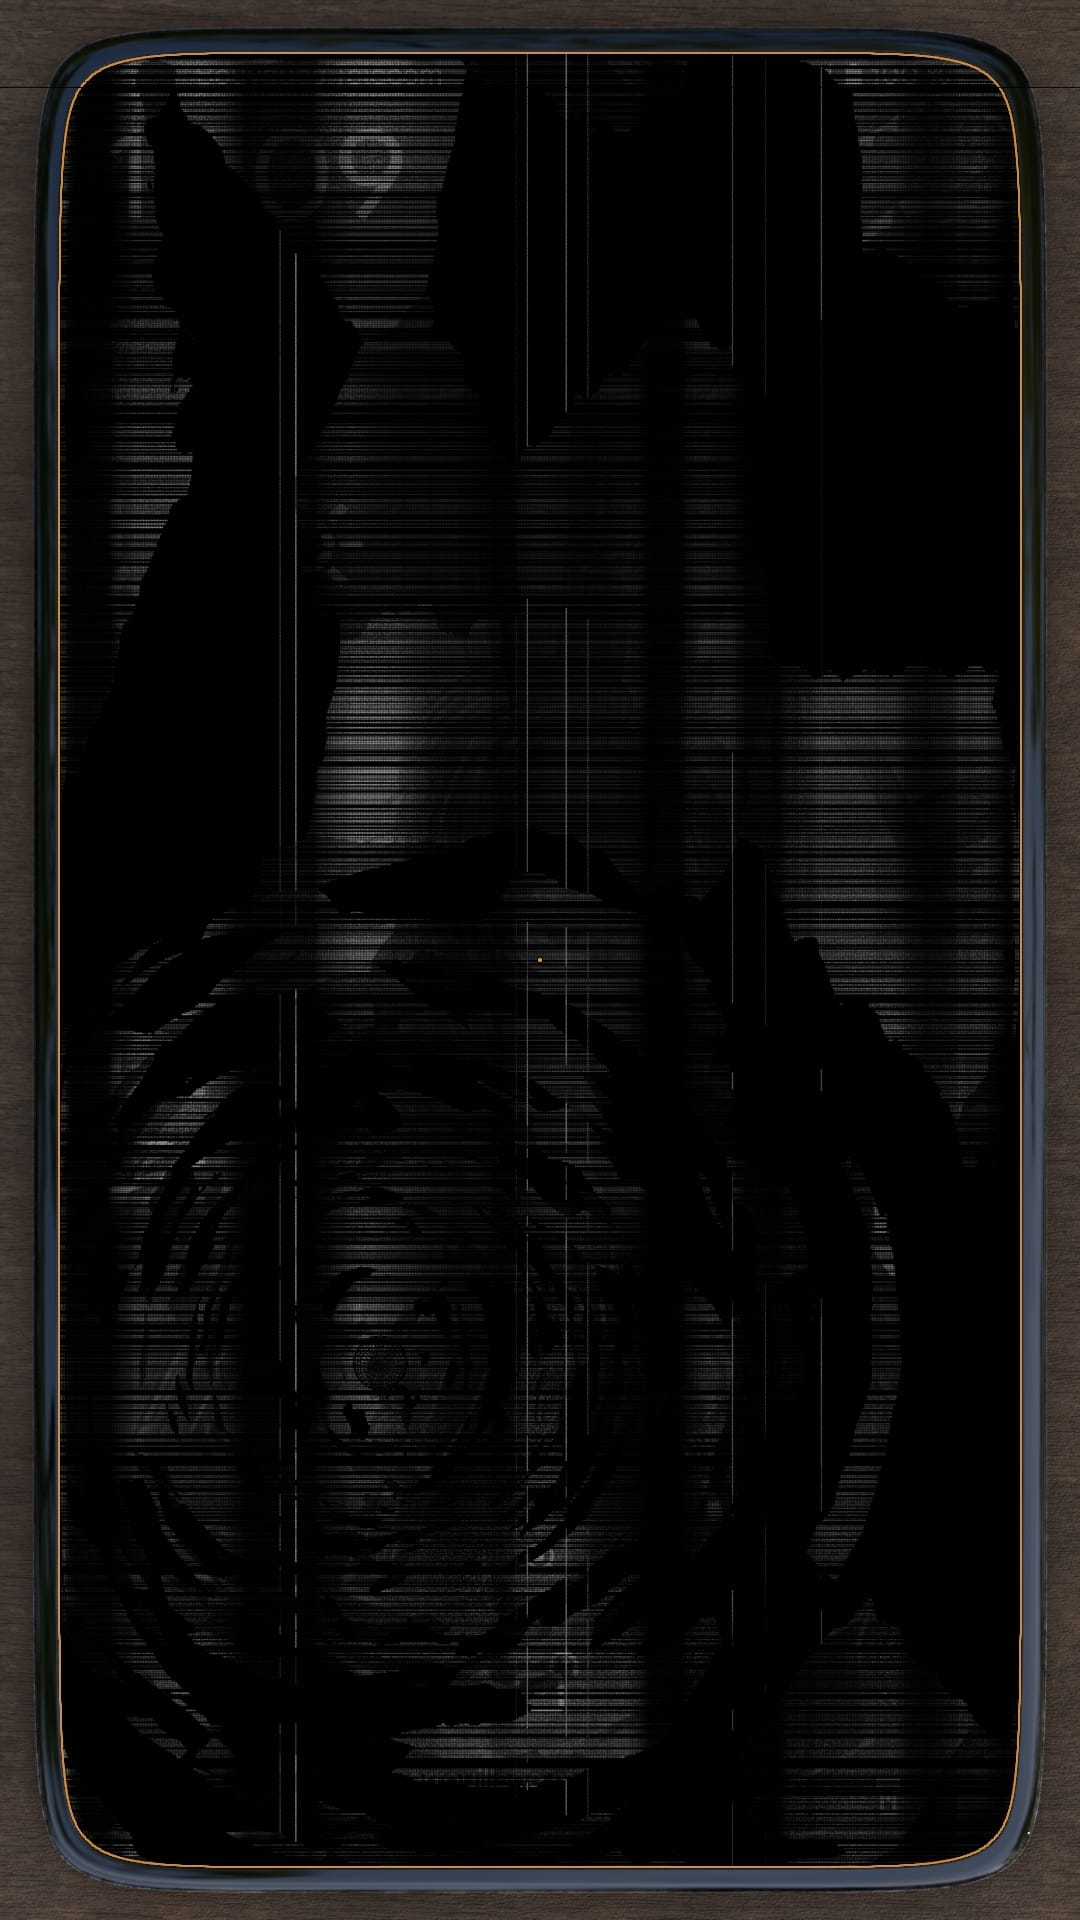
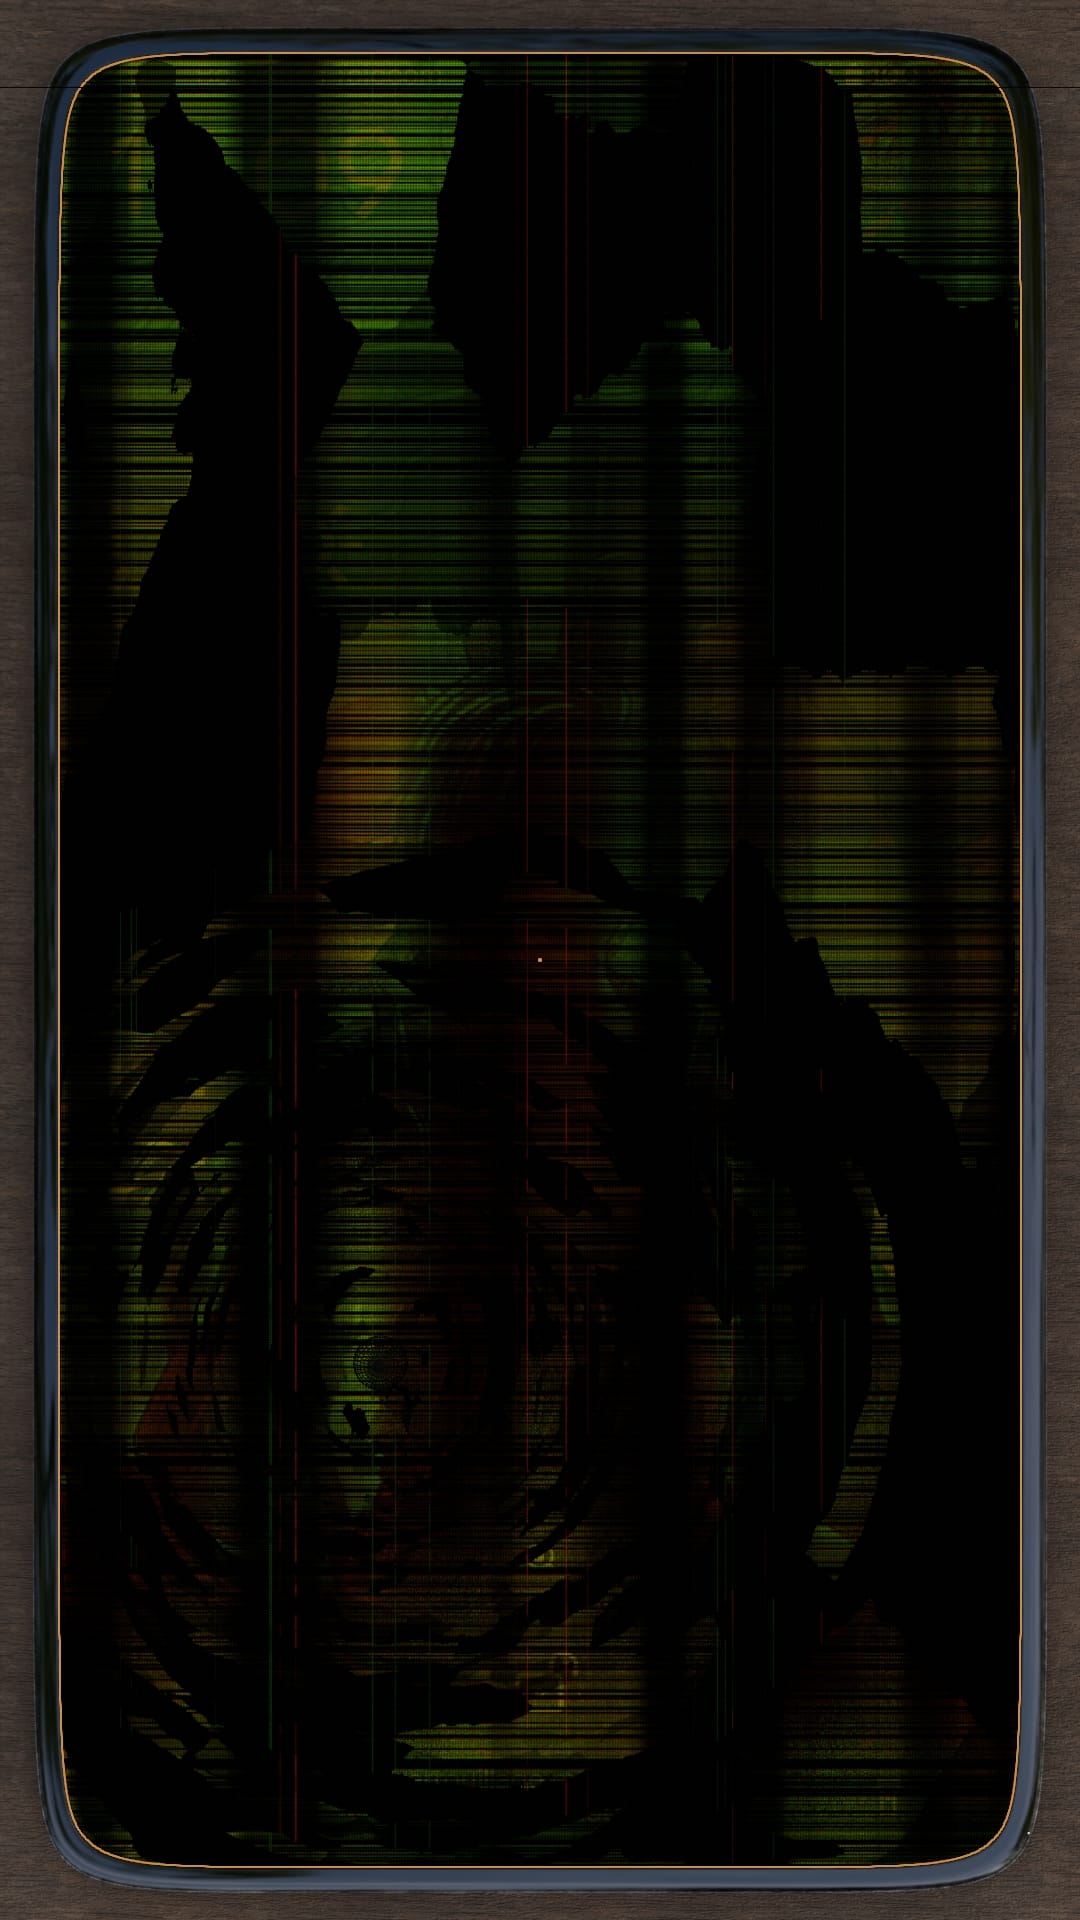

First image : Red channel, then adding green, then adding Blue !
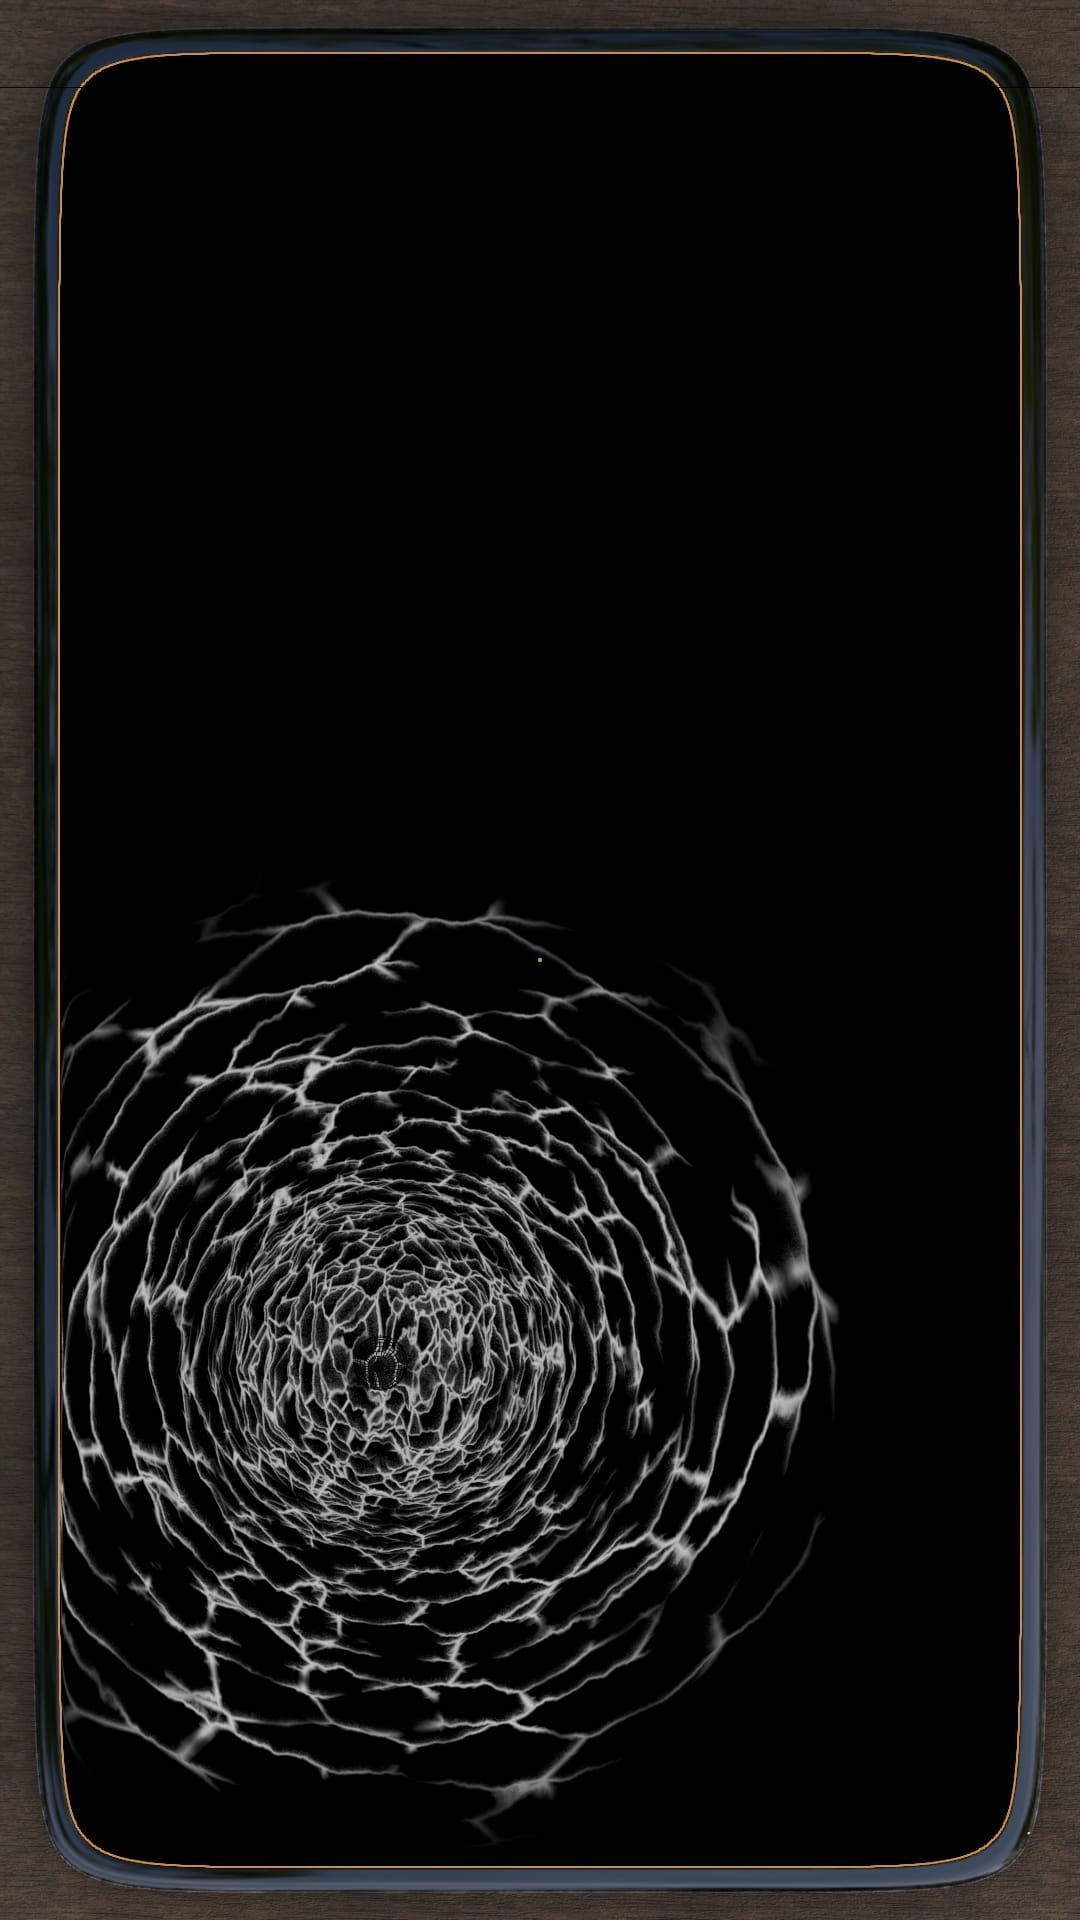
Good, we have the broken pixels! But we also need the broken glass.
I used the very first Voronoi mask to make a normal map, and a simple shader for the broken glass.
Broken glass shader, and normal map
Then I added some details, fingerprints and scratches in the roughness, and glass dust around the impact.
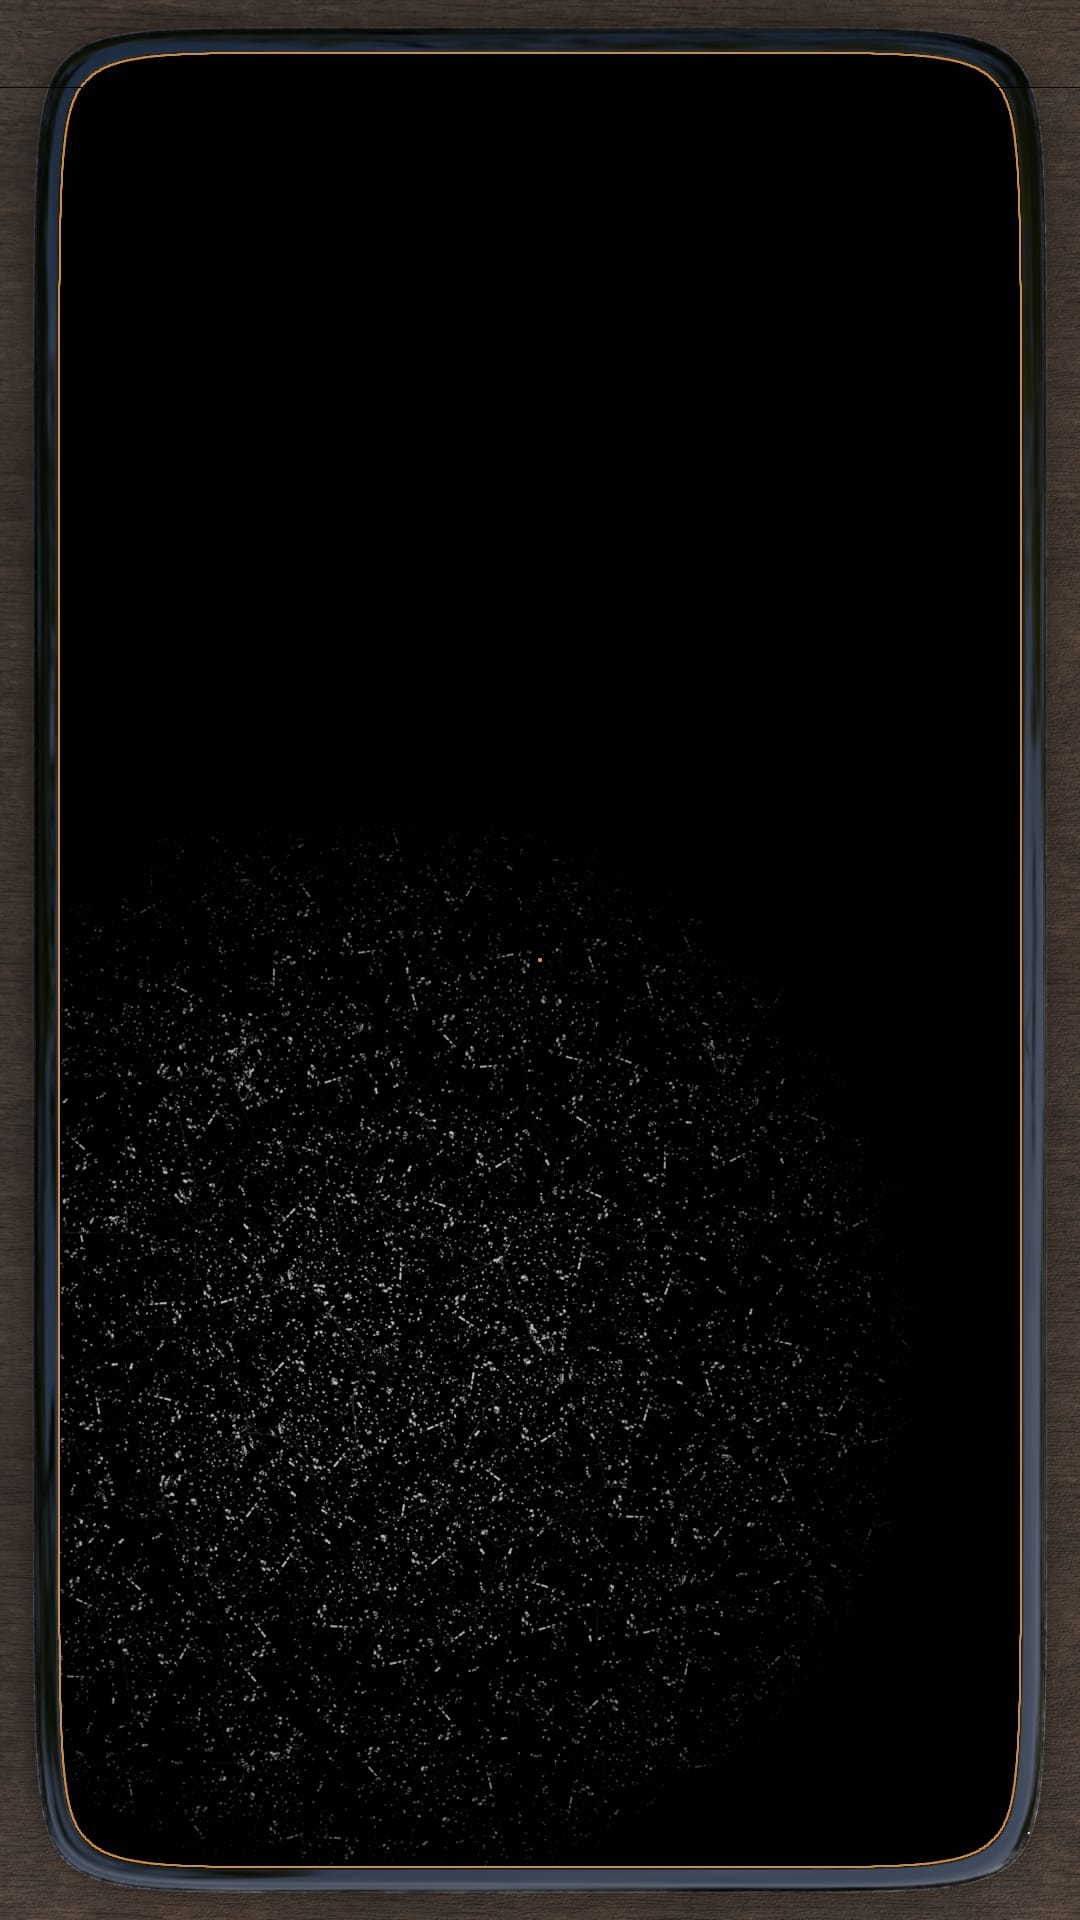
Fingerprints, scratches, and glass dust
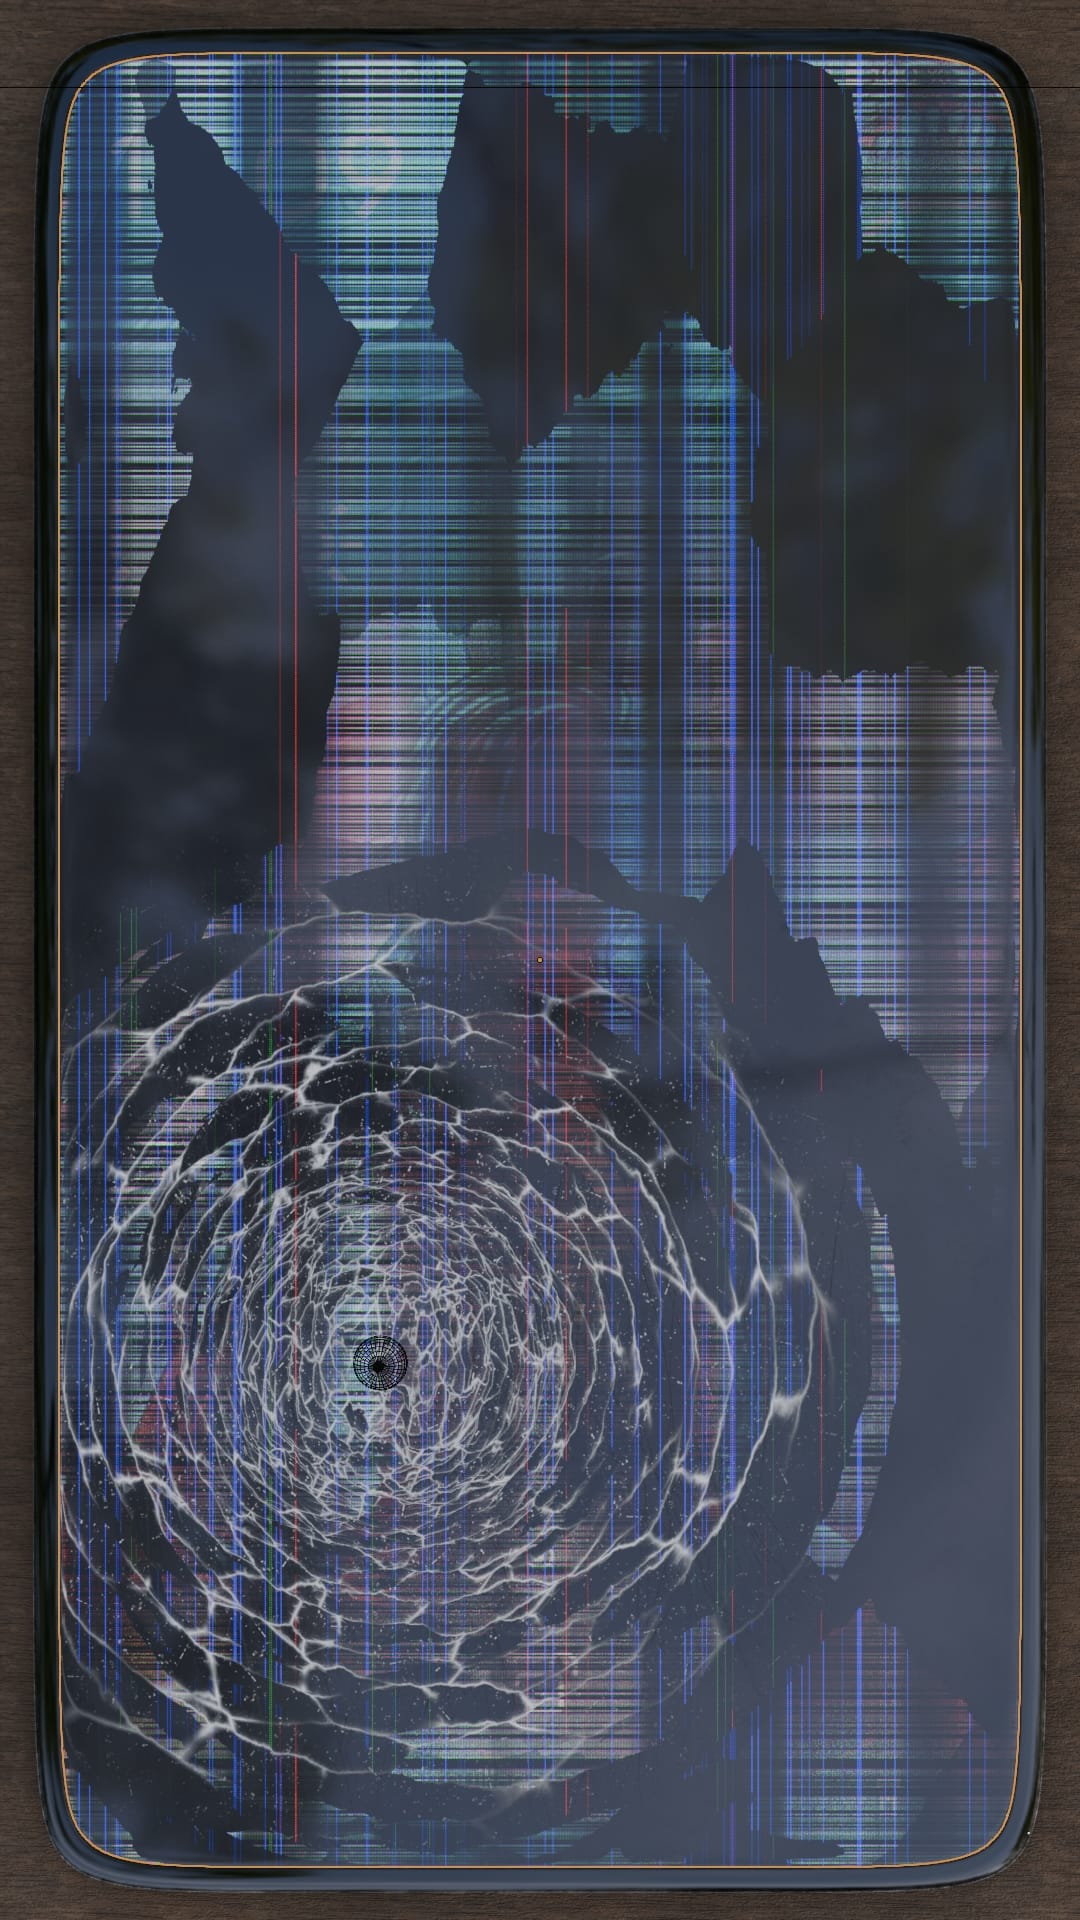
Put the RGB pixels in the emission aaaaand done!

Left : viewport, Right : Cycles
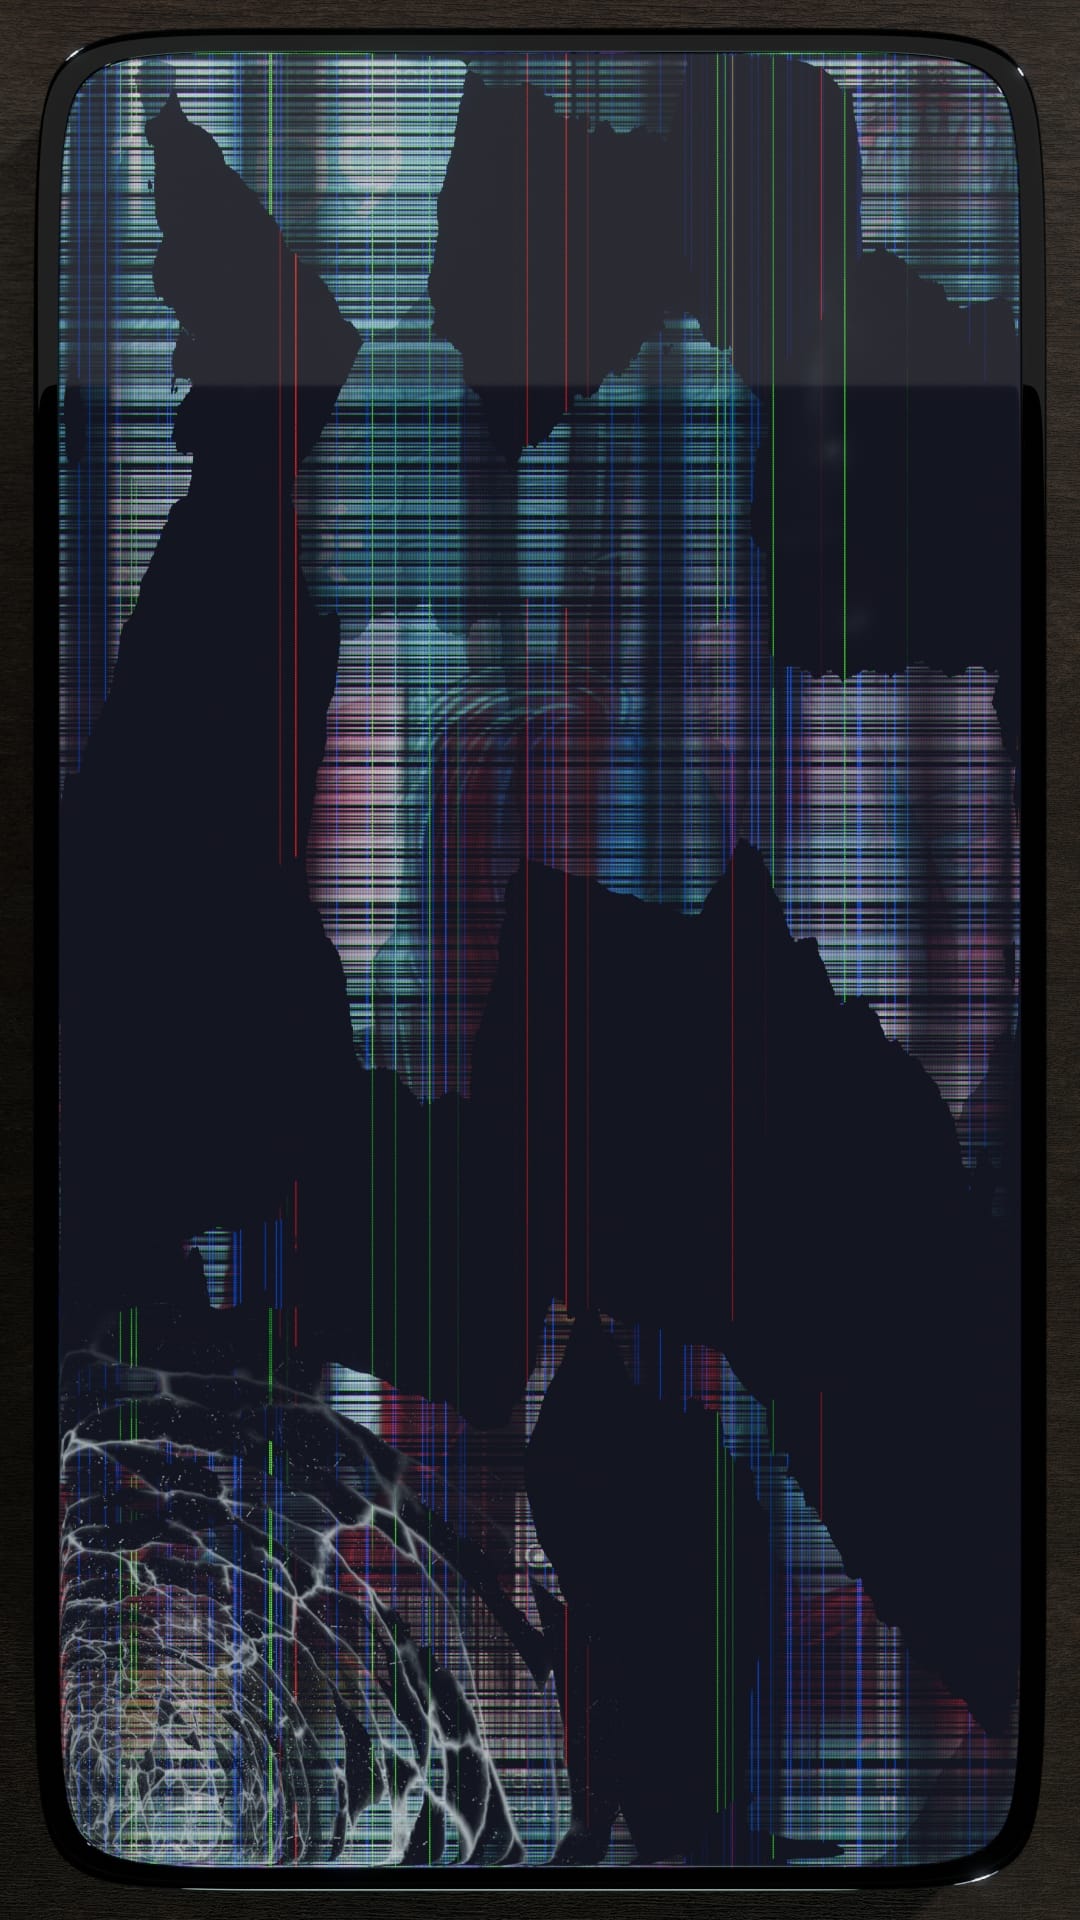
Then I choose the point of impact, put a camera with a nice angle and defocus, and I just added a little compositing on top.
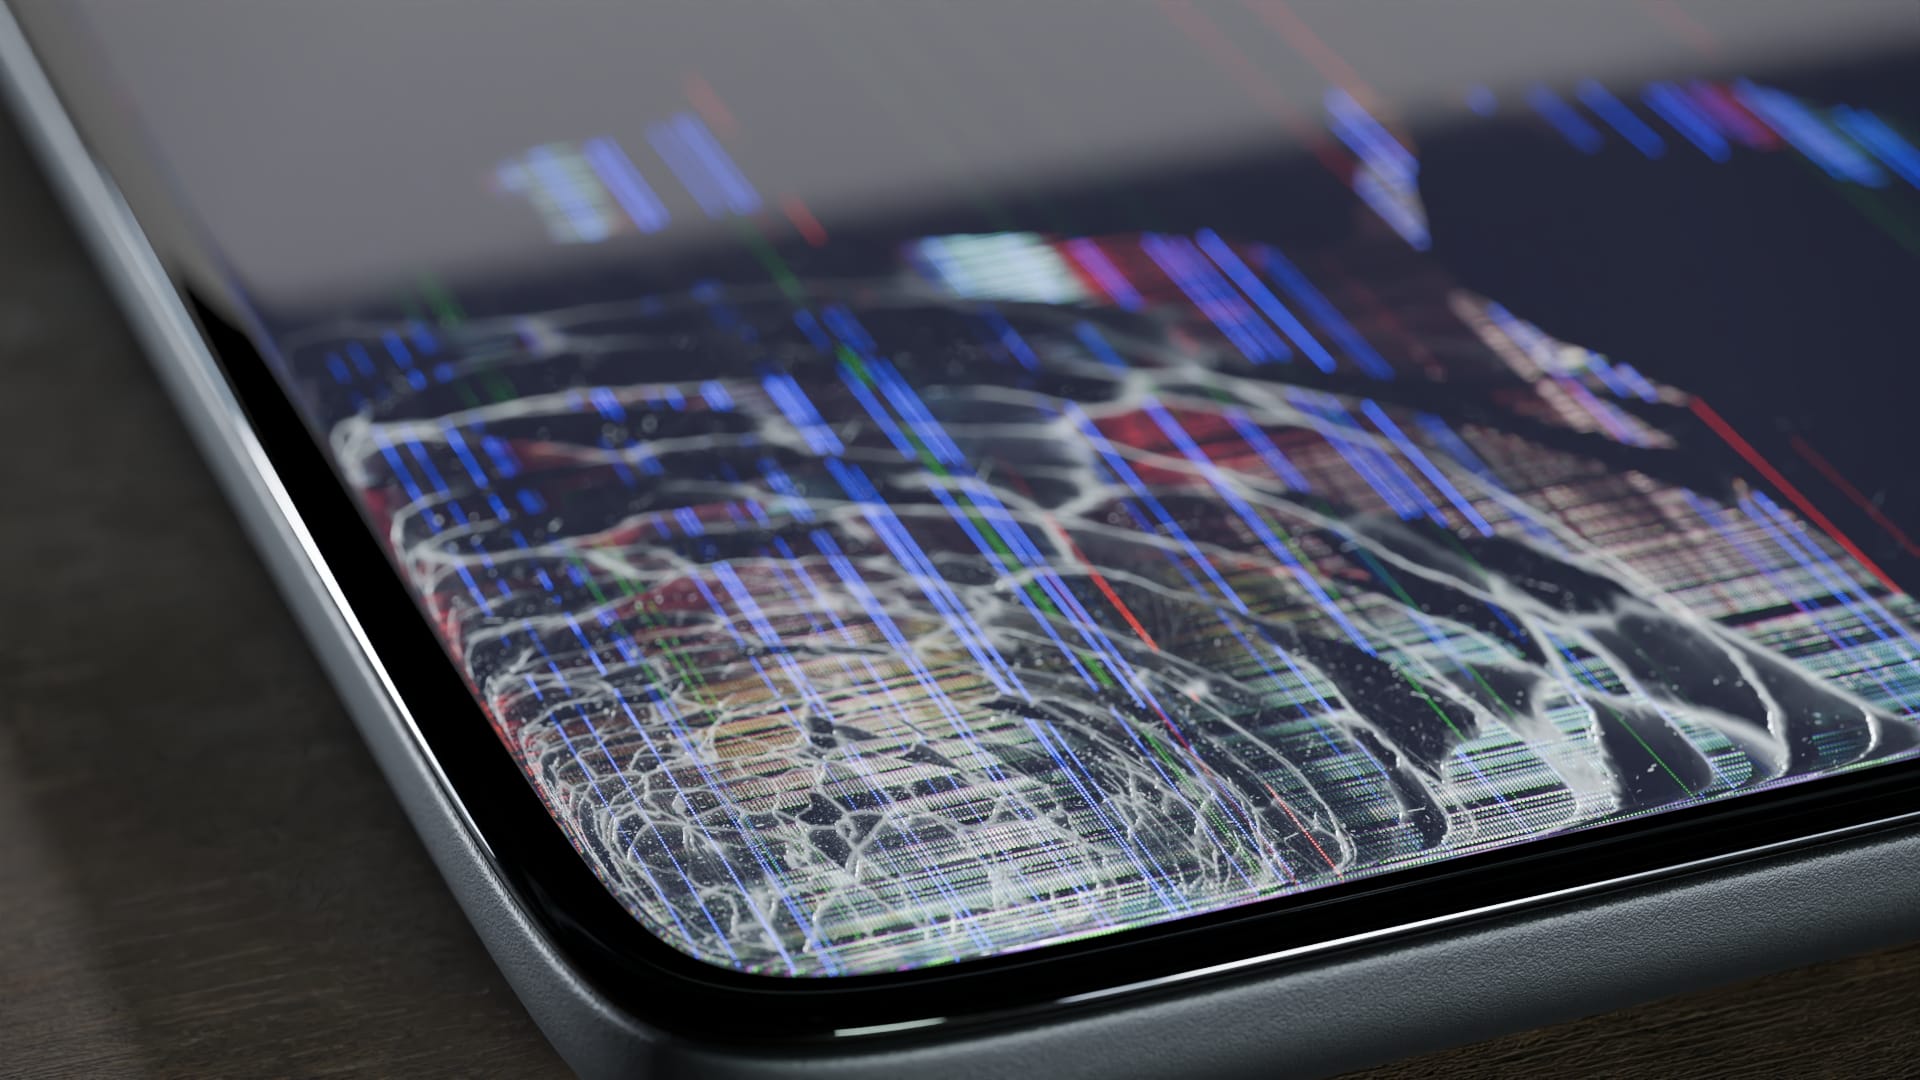
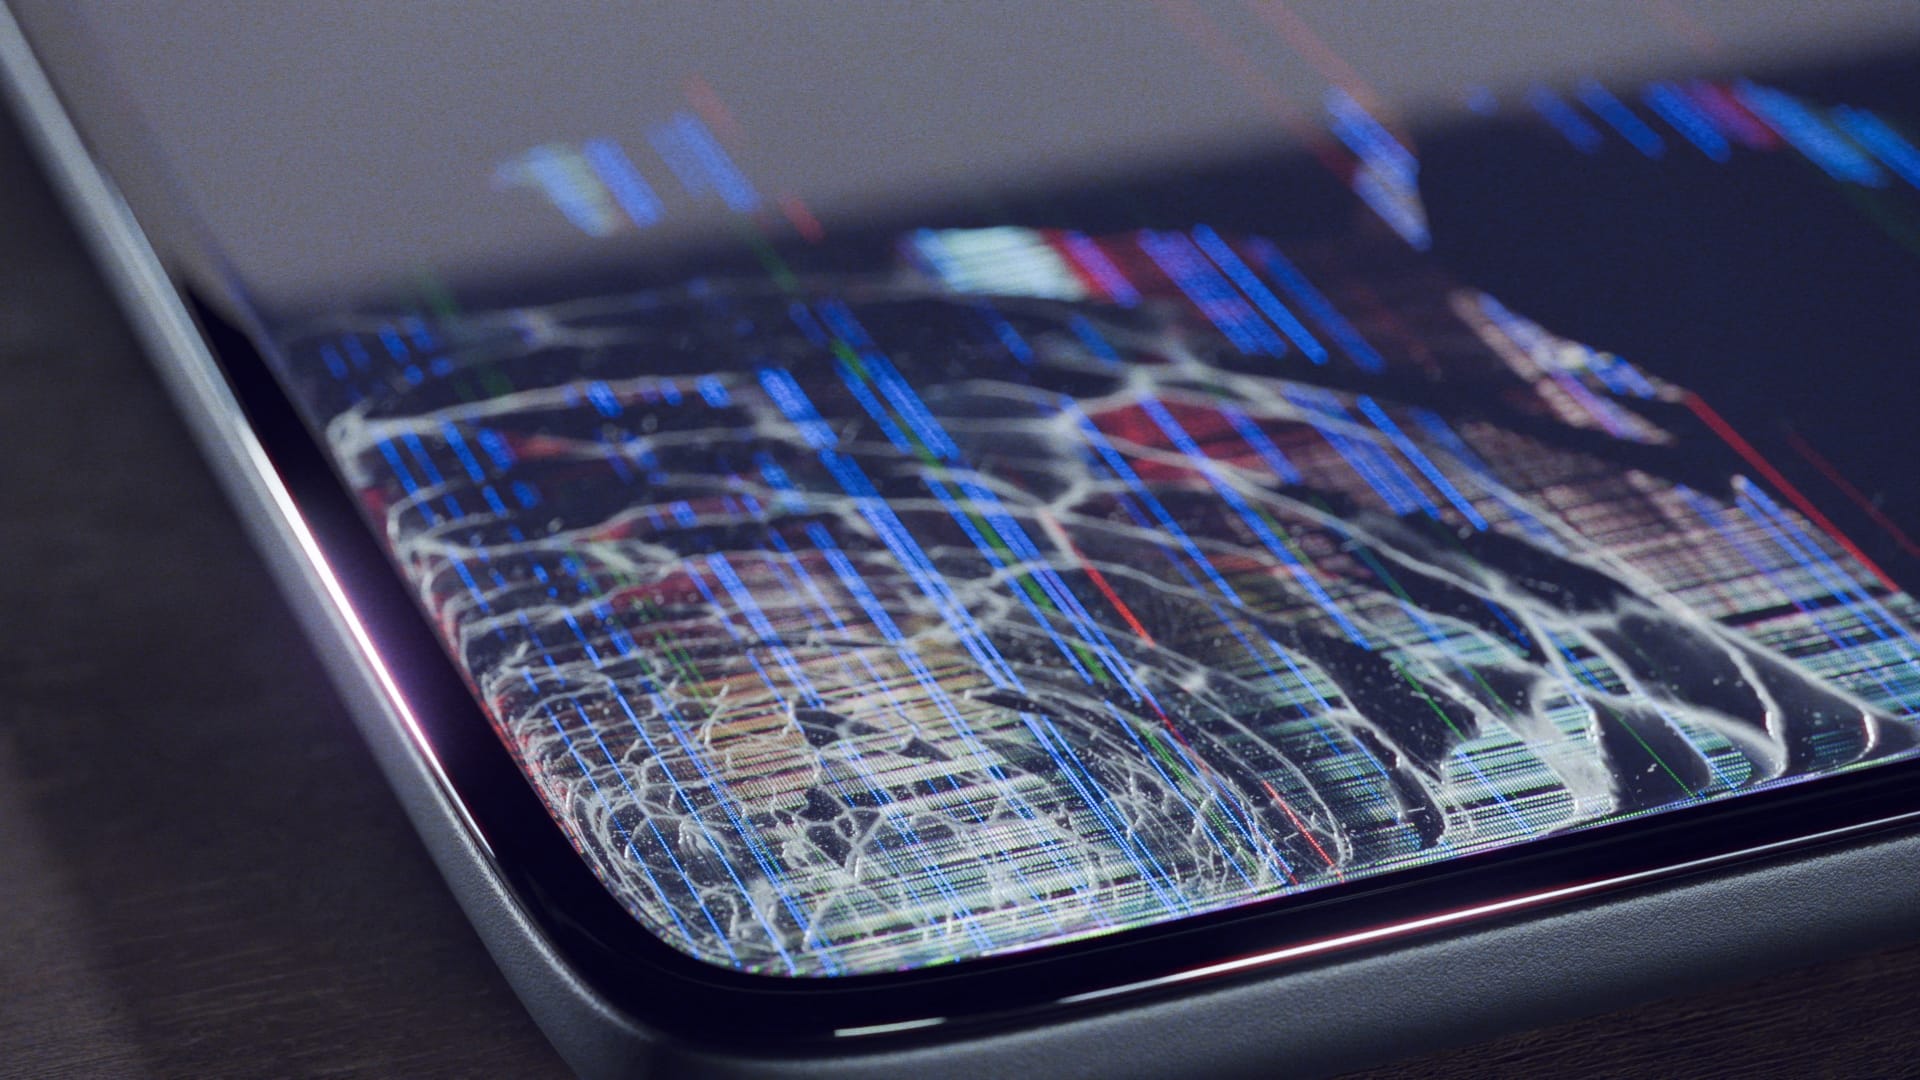
Here it is for my little breakdown of the broken screen effect, and the first article on my website! I hope you found it useful.